
Unlike a Raspberry Pi, the Nebra Indoor runs from internal storage (eMMC) — not a removable card. So PiLoader uses a special installer SD card: you flash it once, pop it into the Nebra, and on first boot it copies PiLoader OS onto the miner's internal storage and powers itself off. Then you remove the SD card, close the miner back up, and it boots straight into PiLoader. The SD card is just the installer — it doesn't stay in the device.
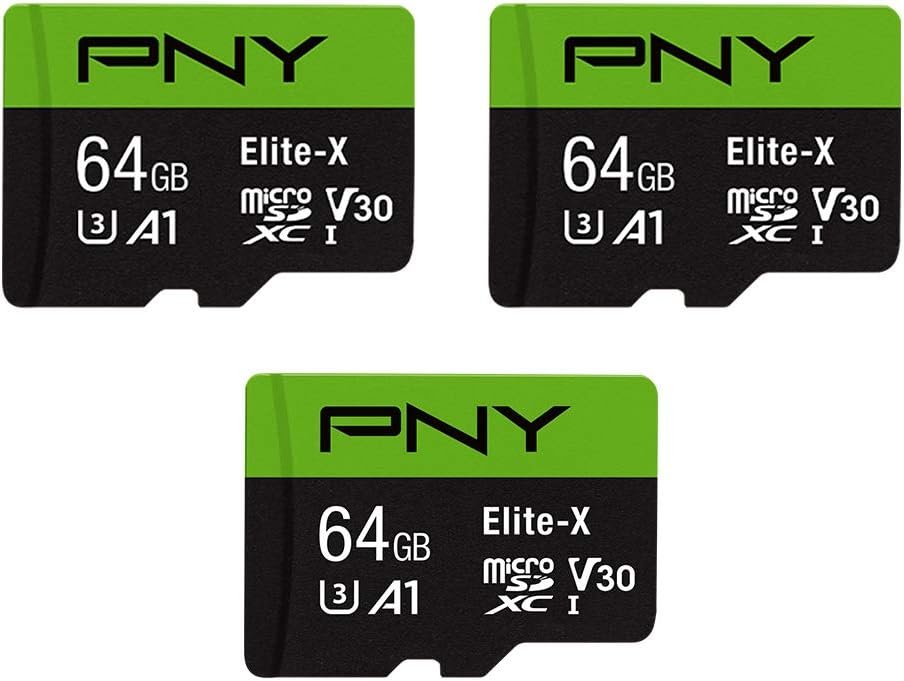
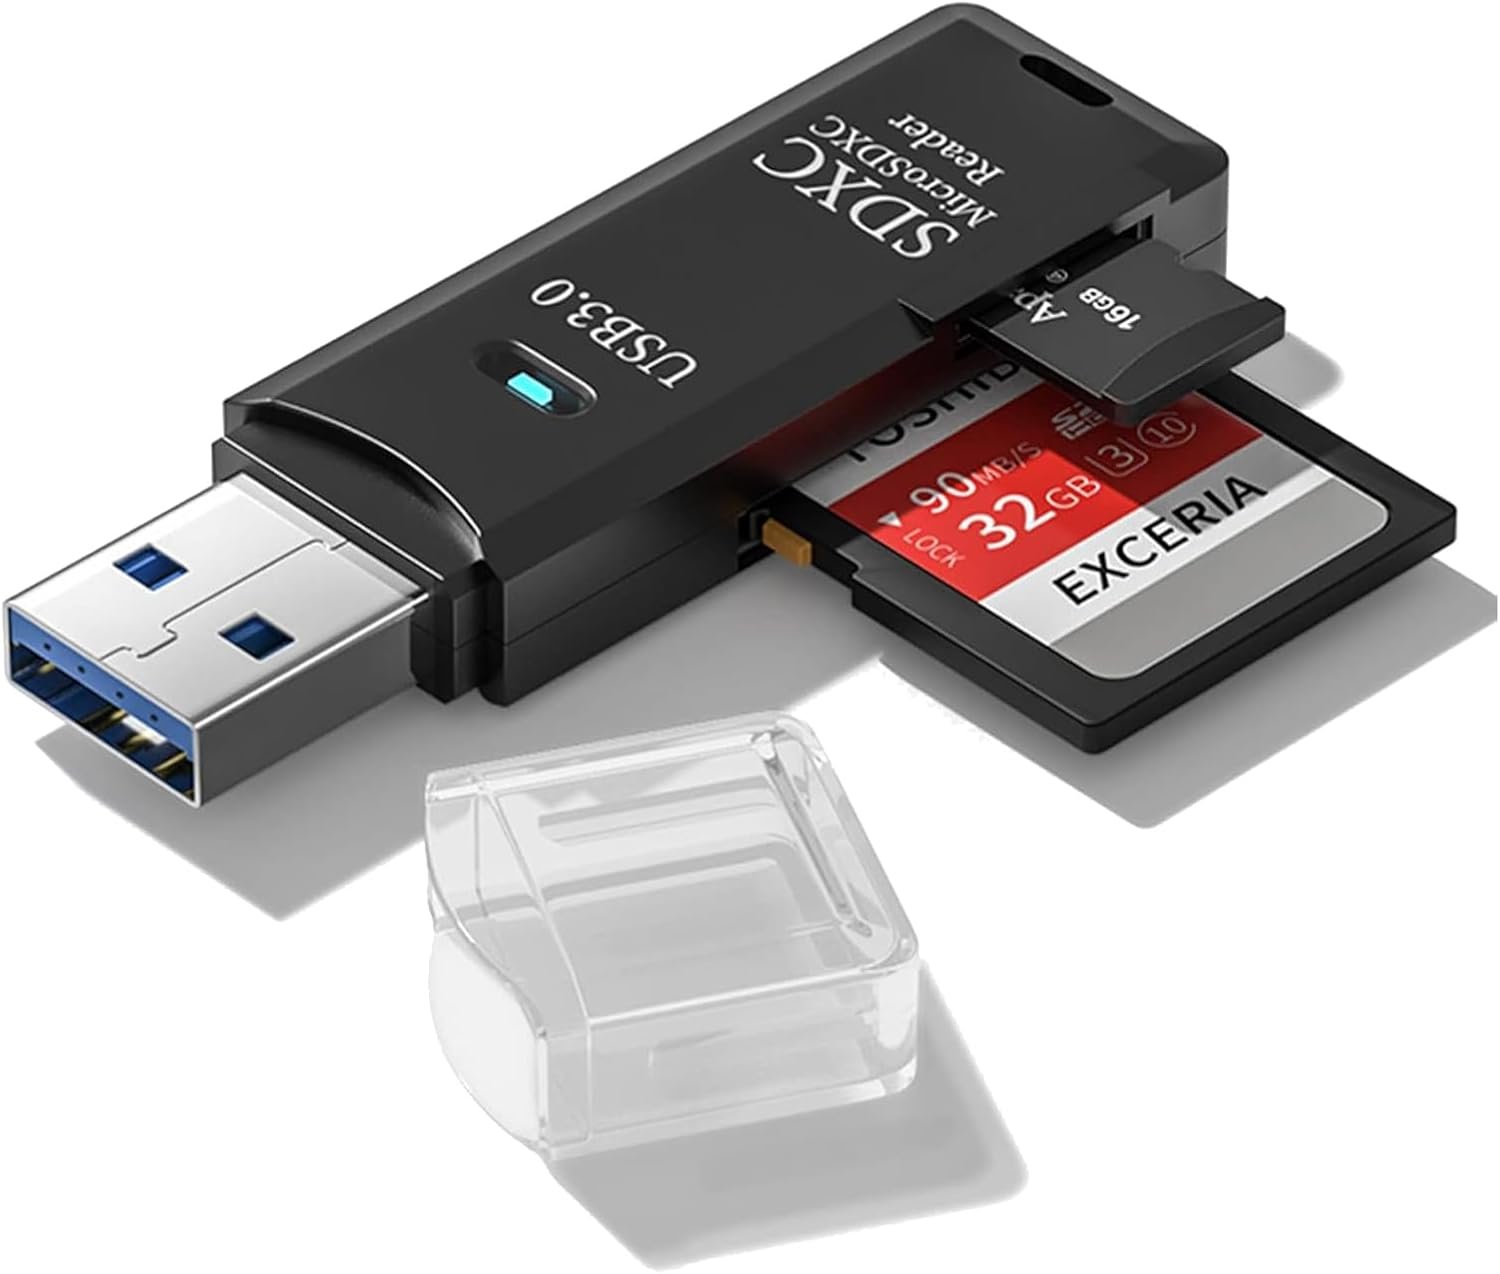
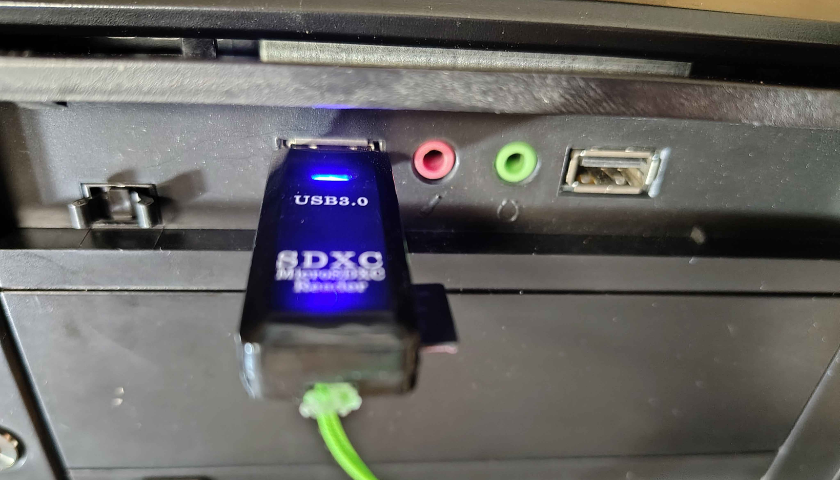
Place your MicroSD card into your USB card reader and plug it into your PC or Mac. Windows may try to open a folder or ask you to format the card — close or cancel any prompts that appear. You do not need to format it first.
Launch Balena Etcher on your computer. You'll see three steps across the screen: Flash from file, Select target, and Flash. You'll work through them left to right.
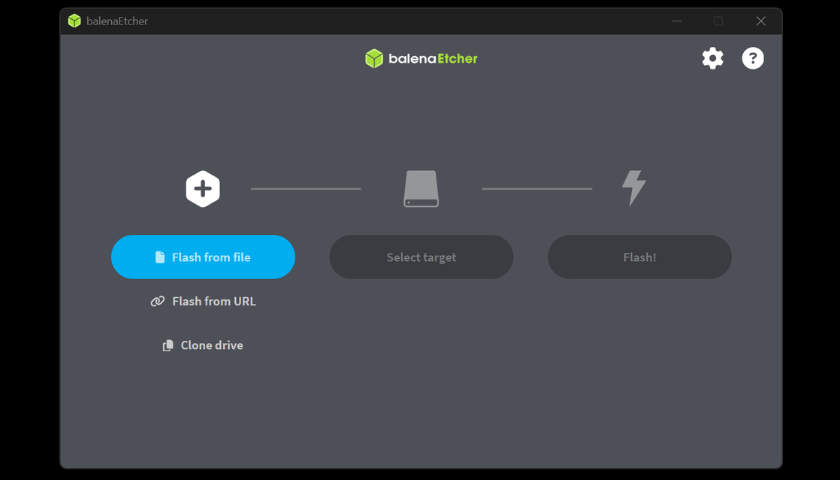
Click "Flash from file". A file browser will open — navigate to wherever you downloaded the installer and select the piloader-nebra-rockpi4.img.gz file. Etcher reads the compressed file directly, so there's no need to unzip it first.
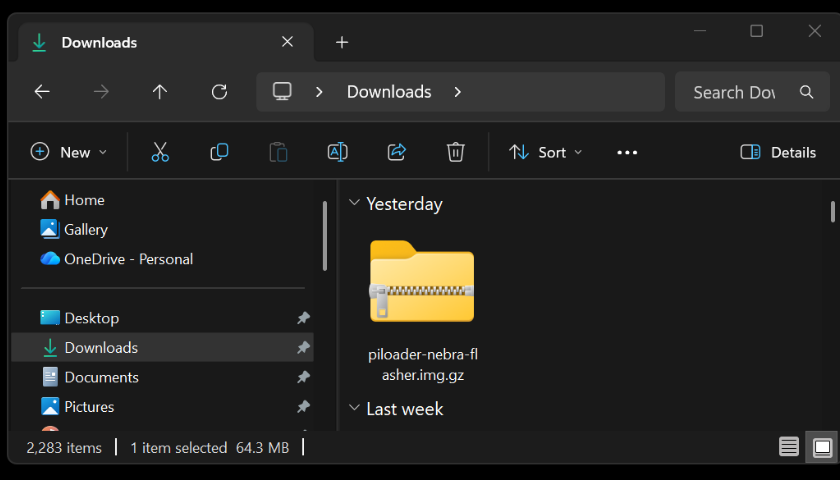
Click "Select target". A list of drives will appear. Select your MicroSD card from the list — it will show the card's storage size. Double-check you're selecting the SD card and not your PC's hard drive.
Important: Selecting the wrong drive will overwrite it. Your SD card will typically show as a smaller removable drive.
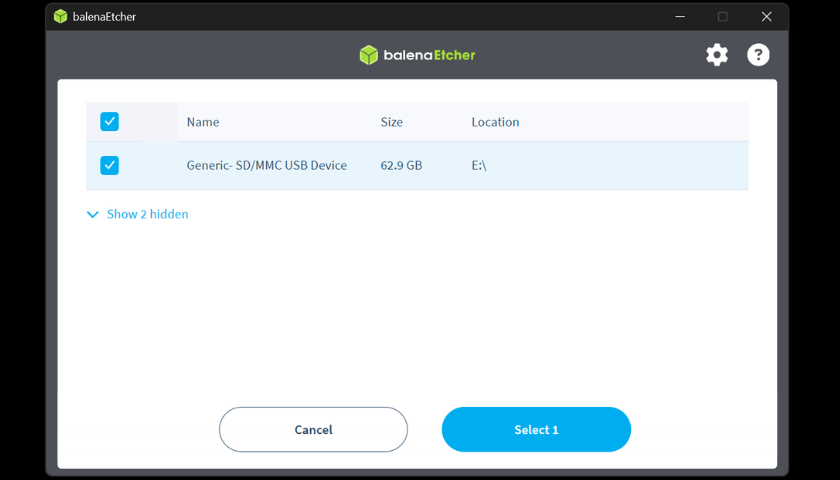
Click "Flash!" and let it run. Balena Etcher will write the image to your card and then automatically verify it. This usually takes 5–10 minutes depending on your card reader and computer speed. Don't remove the card while it's running.
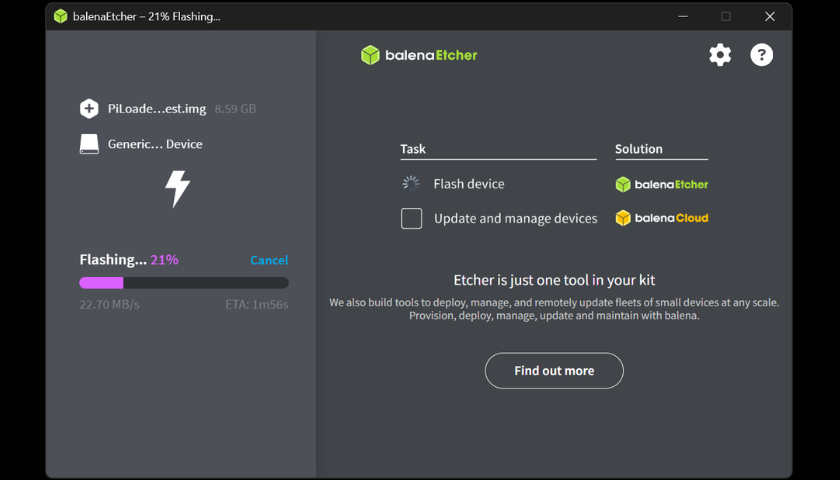
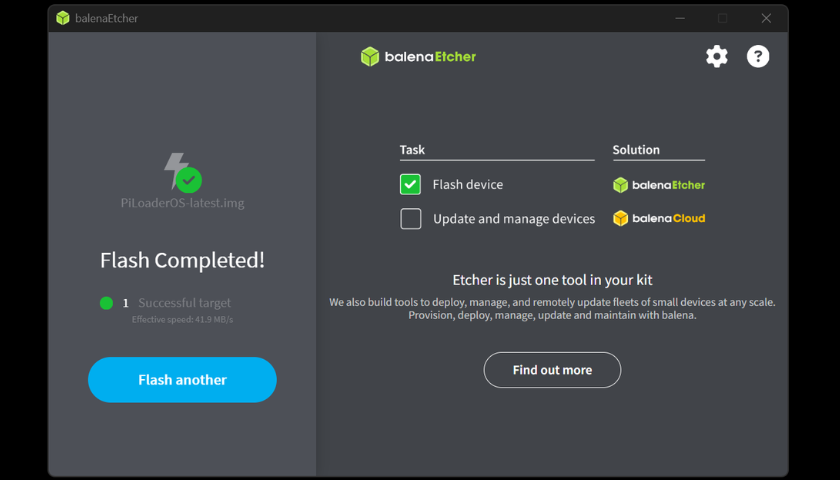
Once Balena Etcher shows "Flash Complete!", close the application. Safely eject and remove the MicroSD card from your reader. Your installer card is now ready.
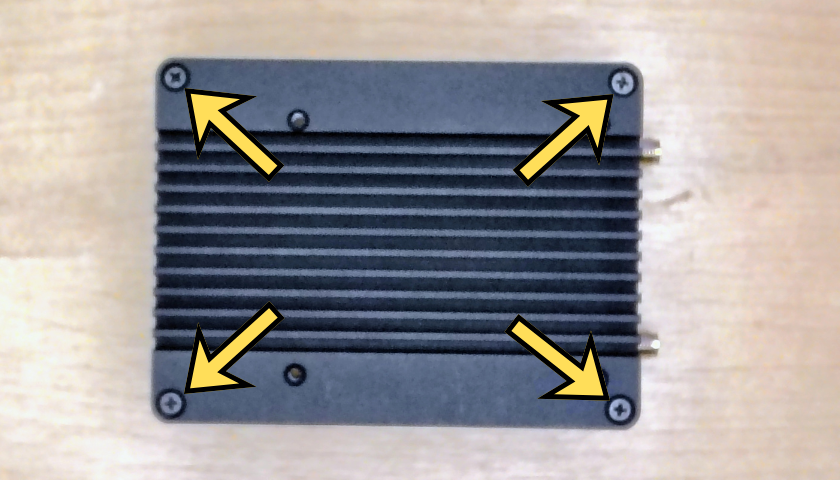
Make sure the miner is unplugged, then flip it over. Remove the 4 Phillips screws on the bottom of the enclosure — they hold the bottom plate to the side shell. Set the screws aside somewhere safe; they go back in at the end.
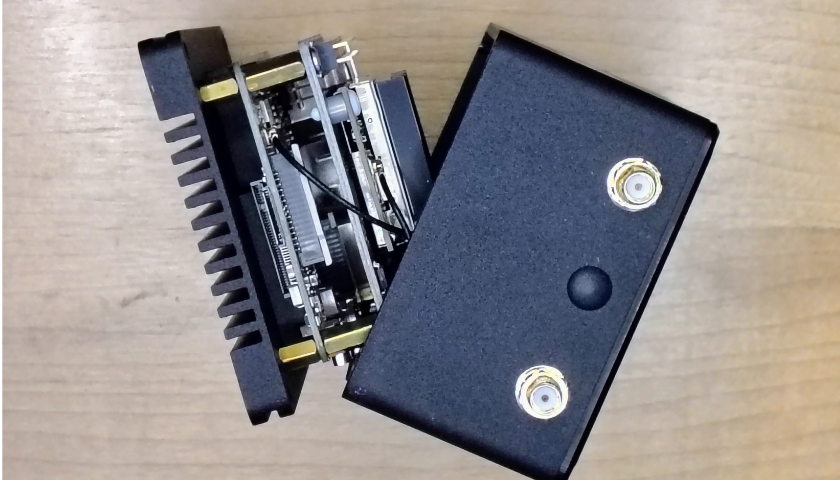
Gently lift the side without the button, easing the housing up until it clears the boards inside. This exposes the MicroSD card slot on the board. Take it slow.
Don't pull hard. The antenna wires connect the shell to the board — yanking the housing can pull them loose. Lift just enough to reach the SD slot.
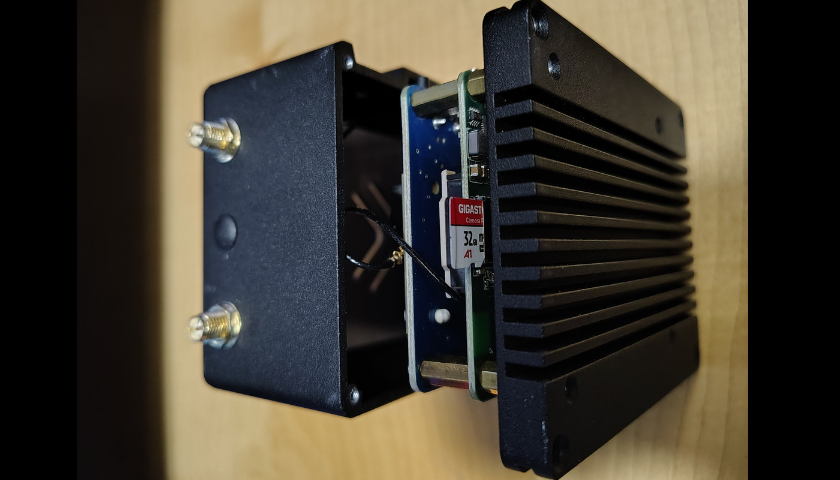
Slide the freshly flashed MicroSD card into the Nebra's MicroSD slot with the card's metal terminals facing toward the board. Leave the case open for now — you'll be removing this card again in a couple of minutes.
This slot is very shallow and the card will stick out — handle the miner carefully so the card doesn't snag or pop out.
Plug the Nebra back in. With the installer card inserted, it boots from the SD card and automatically copies PiLoader OS onto the miner's internal storage. The install is finished when the yellow LED turns off — it usually completes in under 5 minutes. Just let it run; don't unplug it while it's working.
Do not interrupt the flashing process — unplugging the miner mid-install can leave it bricked. When the yellow LED goes dark and stays off, the install is complete. If it never powers off after 10+ minutes, your SD card may be worn out — re-flash a fresh, good-quality SD card and try again.
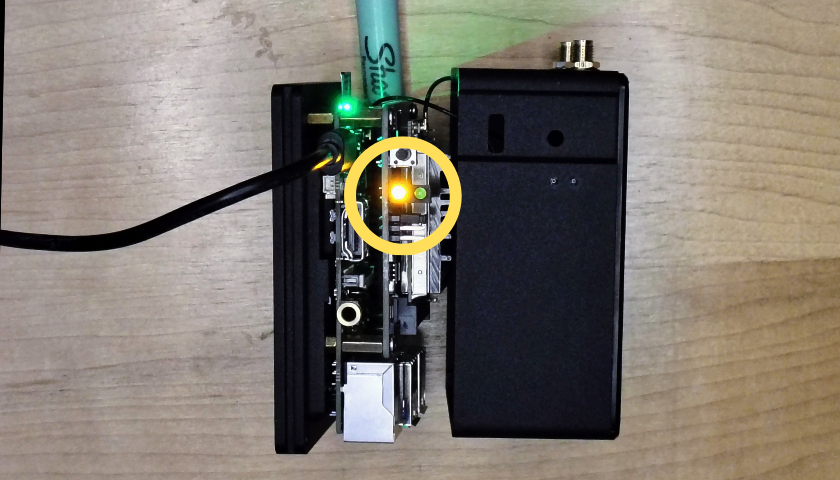
Once the yellow LED has powered off, the flash is complete. Unplug the miner and remove the installer SD card — its job is done. Put the enclosure back together and install the 4 Phillips screws. The SD card must be removed before reassembly.
Keep the installer card — you can reuse it to install PiLoader on another Nebra, or to re-flash this one later.
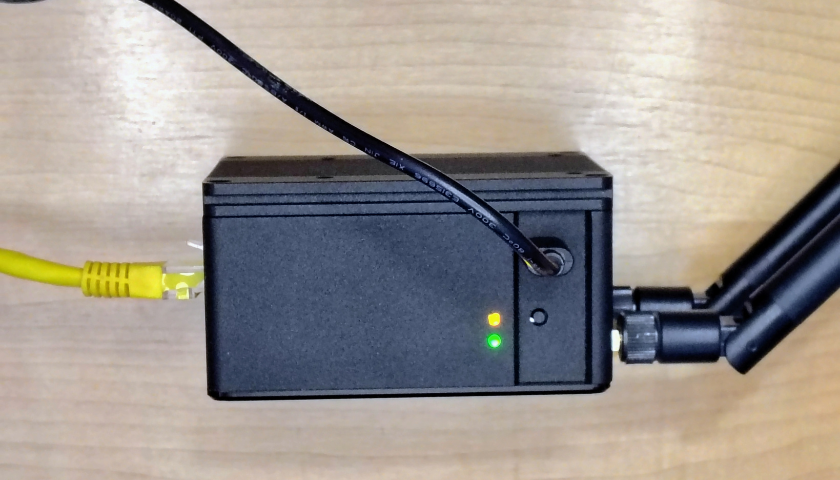
Connect the antennas and network cable, then plug the Nebra in. With no SD card inserted, it now boots straight from its internal storage into PiLoader OS. The miner is fully booted when the green LED lights up — you're now running PiLoader OS.
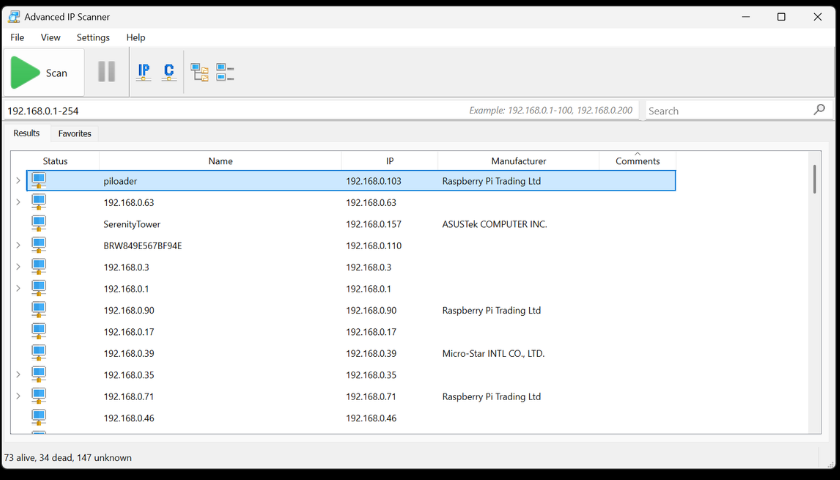
Open Advanced IP Scanner on your PC and click Scan. Look for a device named "piloader" in the results — the IP address next to it is what you need. Alternatively, log into your home router (usually at 192.168.0.1 or 192.168.1.1) and check the connected-devices list.
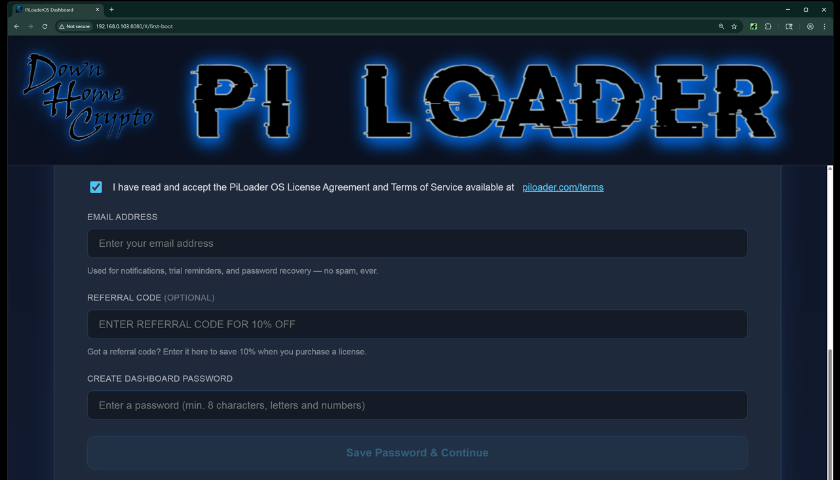
On any device on your home network, open a browser and go to your Nebra's IP address followed by :8080 — for example 192.168.0.50:8080. Read and accept the Terms, enter your email address (used for password recovery and license registration — make sure it's accurate), and set a strong password. Click "Save Password & Continue".
Shortcut: with only one PiLoader device you can use piloader.local:8080 instead of the IP address.
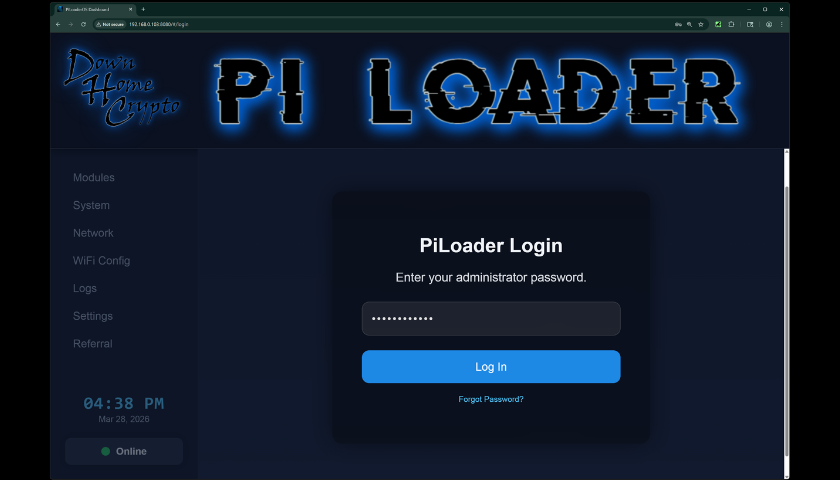
Log in with your new password to reach your dashboard — your command center for installing earning modules, monitoring hardware, and managing your network. Open the Helium module: PiLoader automatically detects your hotspot's identity chip, so it keeps your existing hotspot name. Pick your region, click Install, and your LoRa concentrator comes online.
You're Live!
Your Nebra is now running PiLoader OS, and your Helium hotspot name has recovered automatically. Head to the Modules section and start enabling your earning apps. Good luck out there — and Happy Mining! 🎉
Join the PiLoader Discord community for the latest news, help from fellow PiLoader miners, and to share your mining adventure with people who get it.