
The Gen 1 Nebra Indoor and Outdoor both run a Raspberry Pi Compute Module 3+ that boots from a removable card — the "Nebra eMMC Key" — sitting in a MicroSD-style slot. That makes installing PiLoader just like setting up a Raspberry Pi: you flash PiLoader onto a card with Balena Etcher and slot it in. The card stays in the miner — it's the boot drive, not an installer you remove afterward. Your Helium identity lives on a separate chip (the ECC) that is never touched, so your hotspot name comes back automatically on first boot.
Outdoor: you just need to open the metal enclosure lid. No prying needed.
Prefer to watch? This video walks through the entire installation process from start to finish.
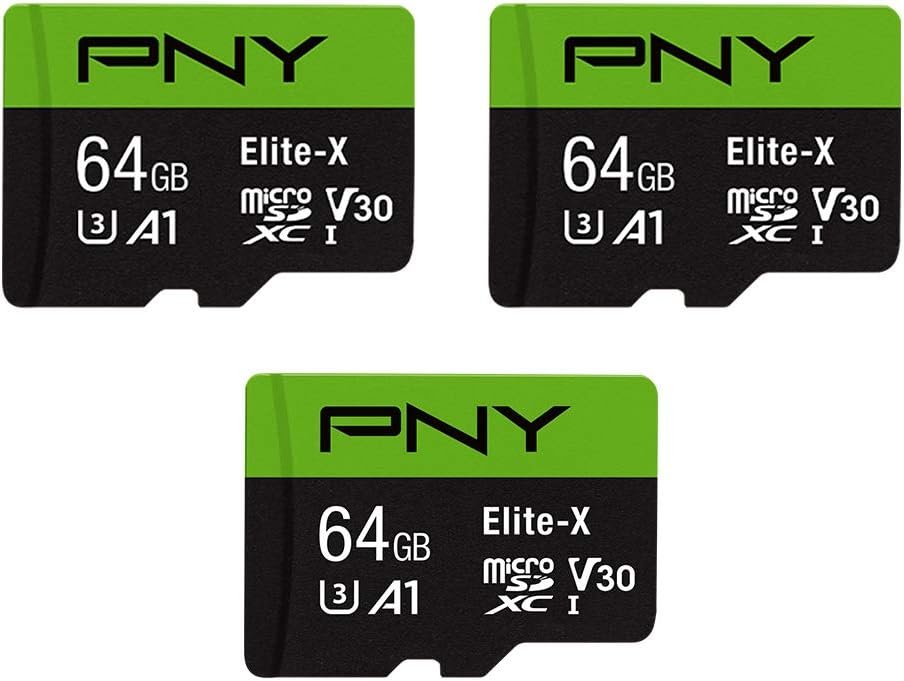
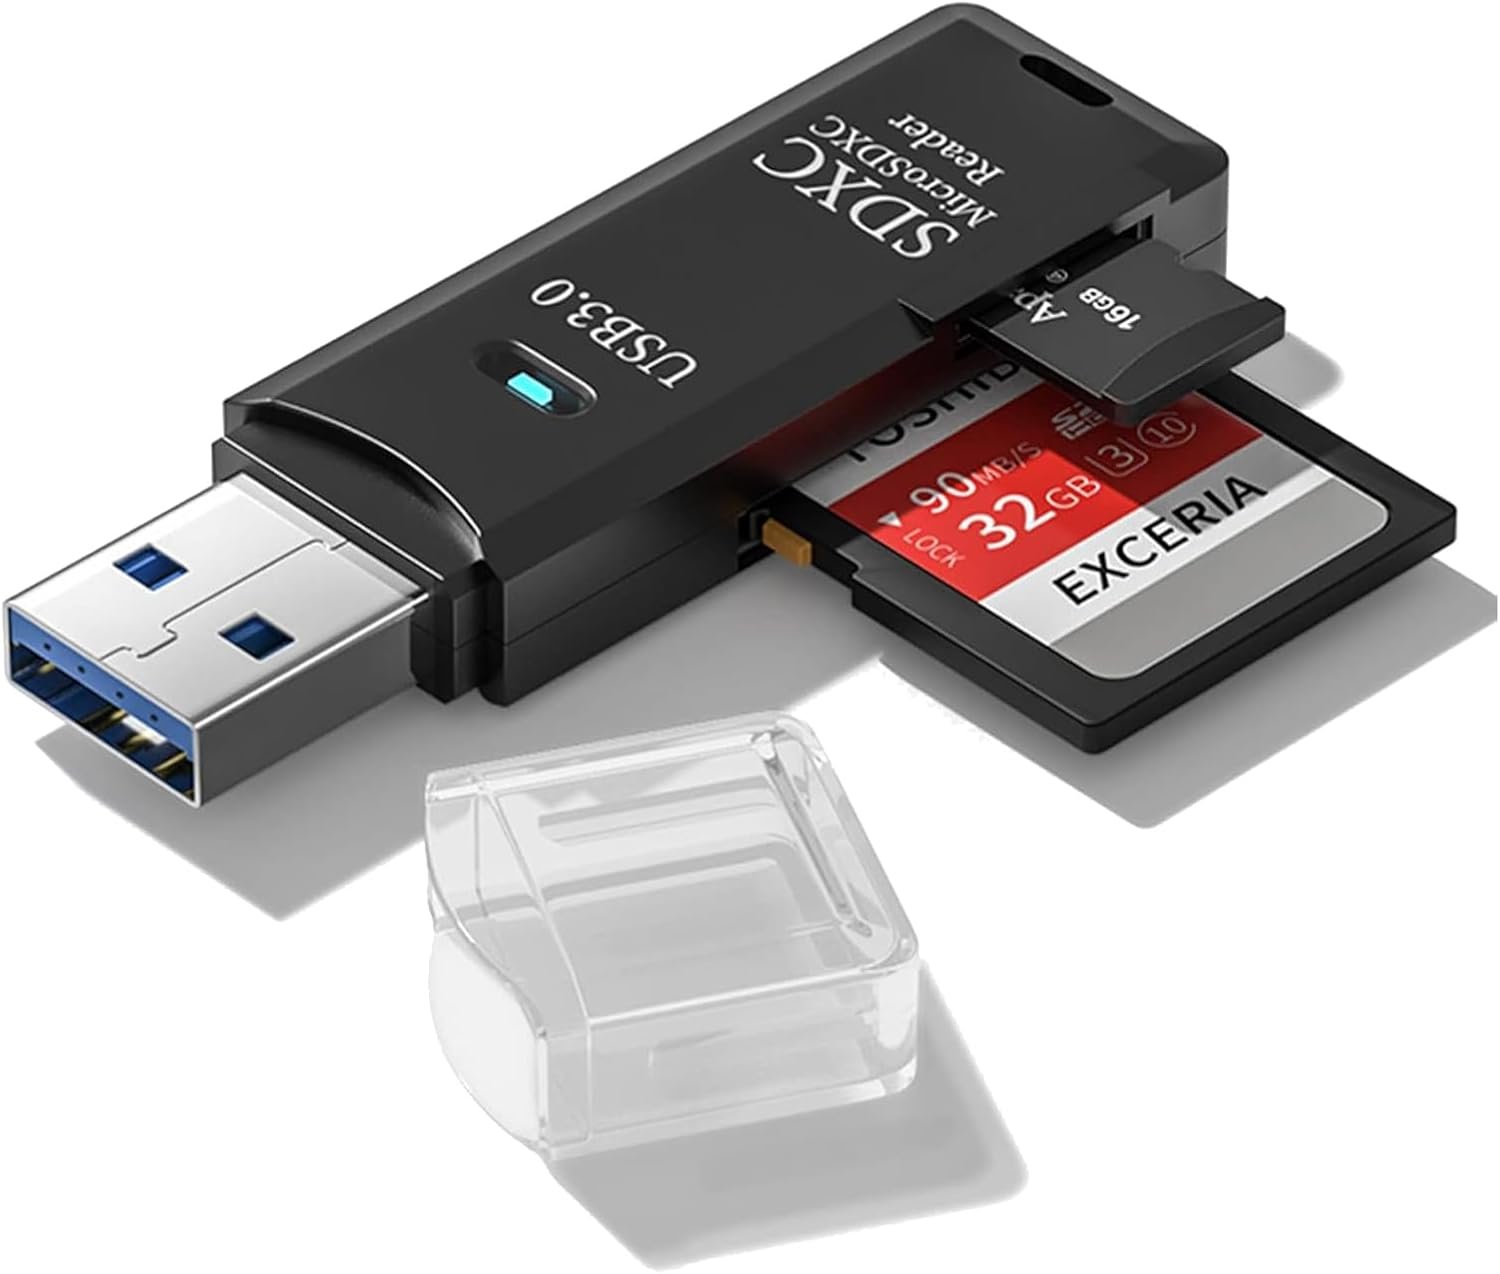
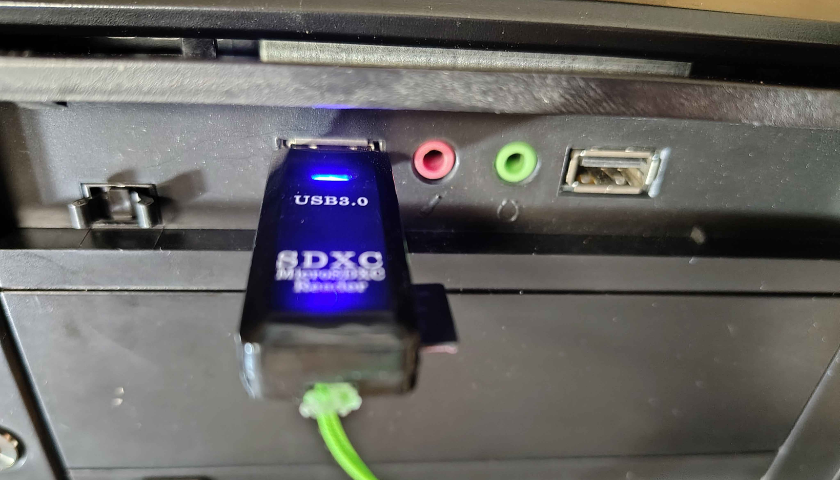
Watch on YouTube →Place your MicroSD card into your USB card reader and plug it into your PC or Mac. Windows may try to open a folder or ask you to format the card — close or cancel any prompts that appear. You do not need to format it first.
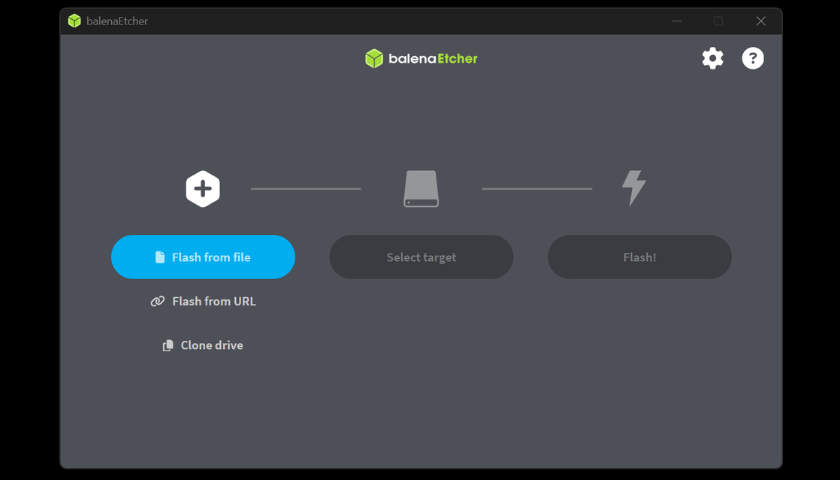
Launch Balena Etcher on your computer. You'll see three steps across the screen: Flash from file, Select target, and Flash. You'll work through them left to right.
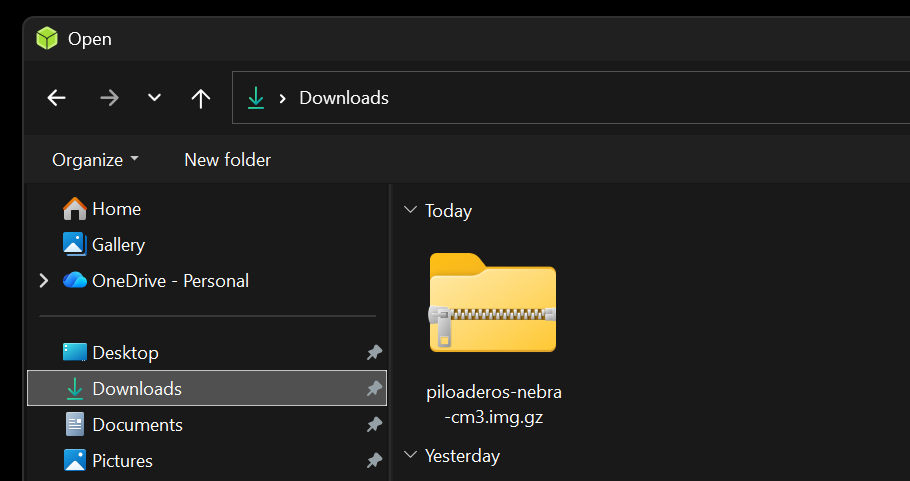
Click "Flash from file". A file browser will open — navigate to wherever you downloaded the image and select the piloader-nebra-cm3.img.gz file. Etcher reads the compressed file directly, so there's no need to unzip it first.
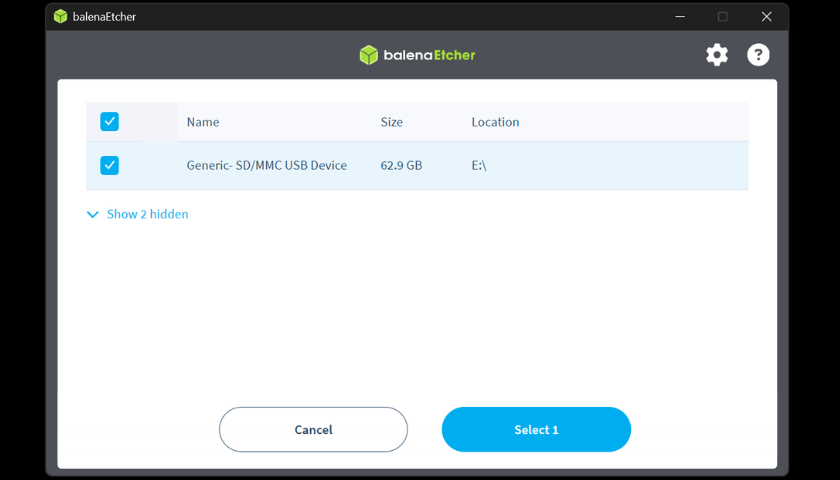
Click "Select target". A list of drives will appear. Select your MicroSD card from the list — it will show the card's storage size. Double-check you're selecting the card and not your PC's hard drive.
Important: Selecting the wrong drive will overwrite it. Your card will typically show as a smaller removable drive.
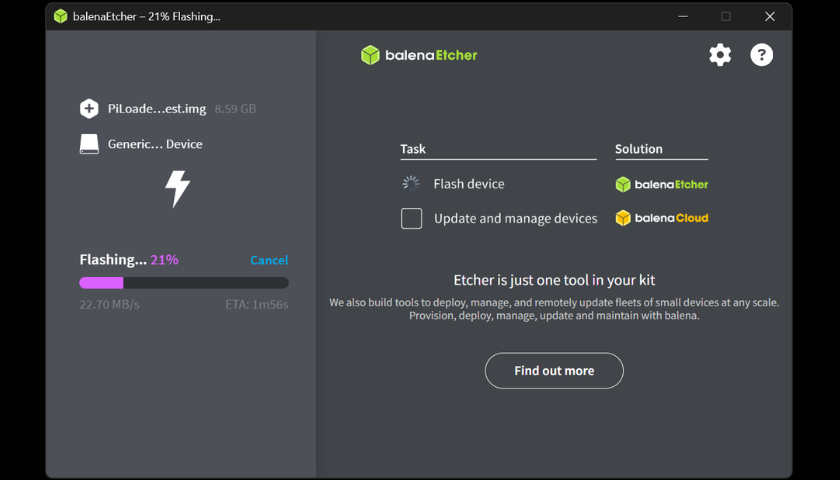
Click "Flash!" and let it run. Balena Etcher will write the image to your card and then automatically verify it. This usually takes 5–10 minutes depending on your card reader and computer speed. Don't remove the card while it's running.
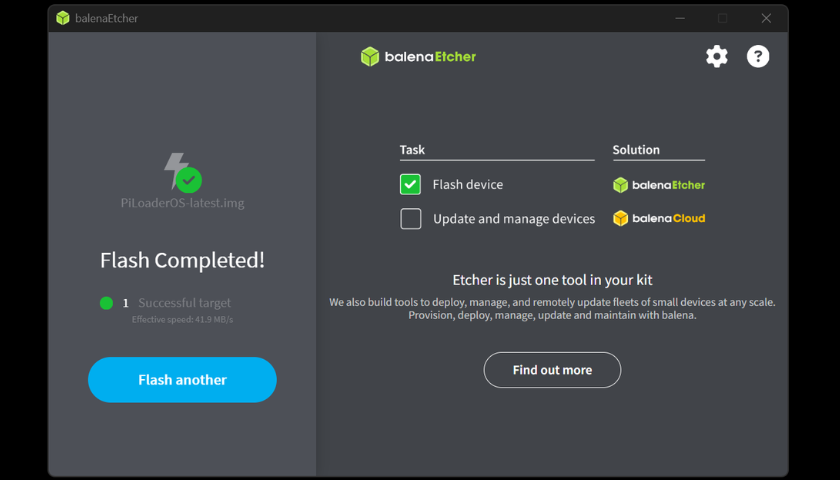
Once Balena Etcher shows "Flash Complete!", close the application. Safely eject and remove the MicroSD card from your reader. Your boot card is now ready to go into the miner.
1. Unplug the power (the PoE cable, or the 12V DC adapter) and open the metal enclosure lid.
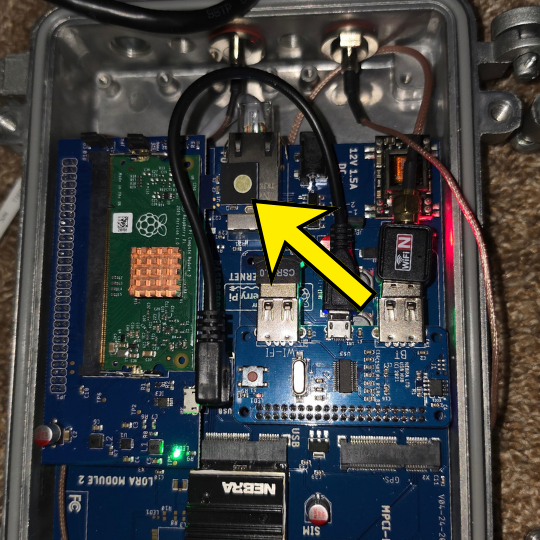
2. Find the Nebra eMMC Key: it's the small card standing upright in its slot right beside the Ethernet port (arrow in the photo). You don't need to remove the compute module.
3. Slide the original Key out and keep it somewhere safe (taping it inside the lid works well). Then slide your freshly-flashed MicroSD card into the same slot with the metal terminals facing the board, and seat it fully.
4. Close the lid, making sure the rubber seal sits flat all the way around so the enclosure stays weatherproof. Then continue at Step 13.
Just like the Indoor, your Helium identity lives on the ECC chip soldered to the board, not on the Key, so your hotspot name comes back automatically.
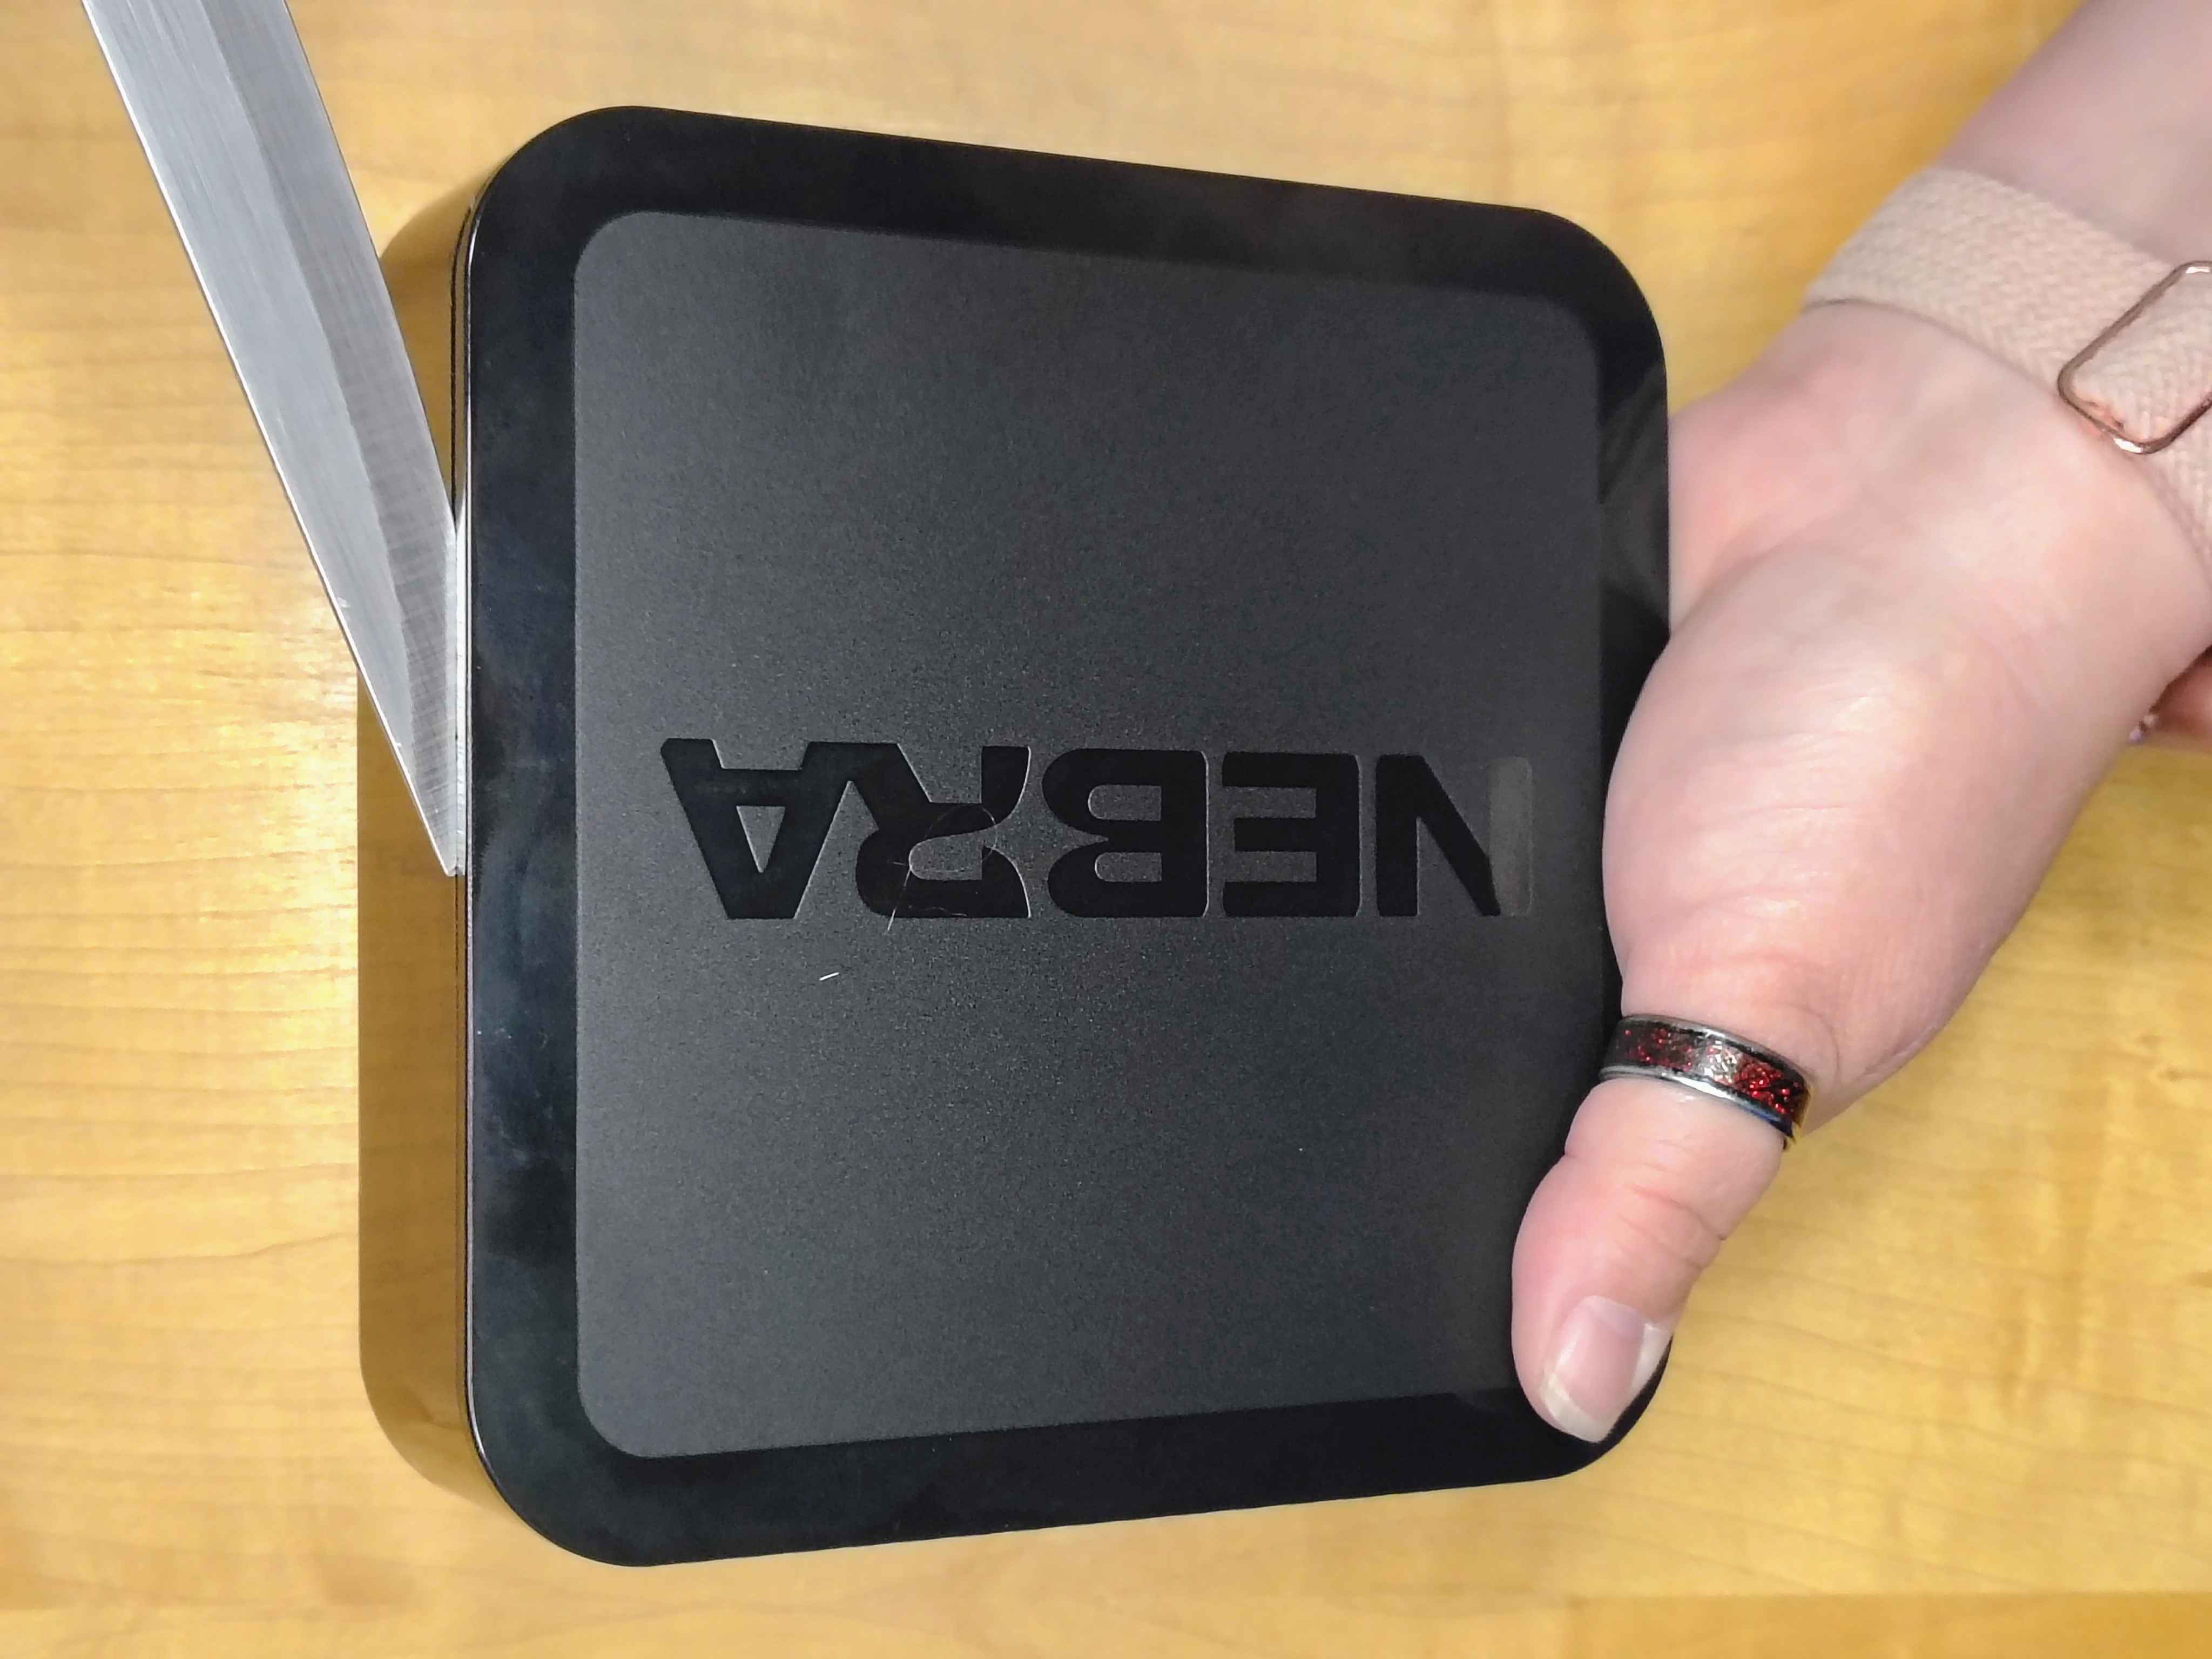
Make sure the miner is unplugged. This model has no case screws — instead, gently work a thin, flat tool (a plastic pry tool, spudger, or thin knife) into the seam and ease the top cover off the body. Move around the edges so the clips release evenly.
Take it slow. Pry a little at a time around the seam rather than forcing one spot — that keeps you from cracking the housing or slipping with the tool.
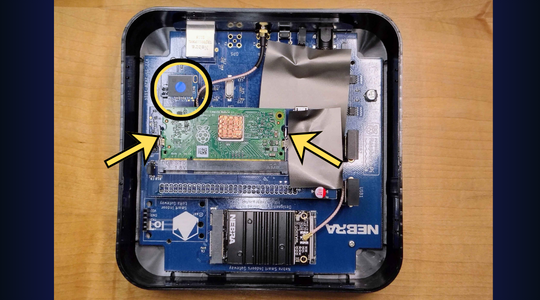
With the top cover off, locate the "Nebra eMMC Key" — a small rectangular card with a blue dot, plugged into a MicroSD-style slot on the board.
Pro tip: it's often easier to lift the green CM3+ compute module out of the way first to clearly reveal the card slot. Gently push the two metal locking tabs outward to release the module, then lift it up — it presses straight back into the slot when you're done.
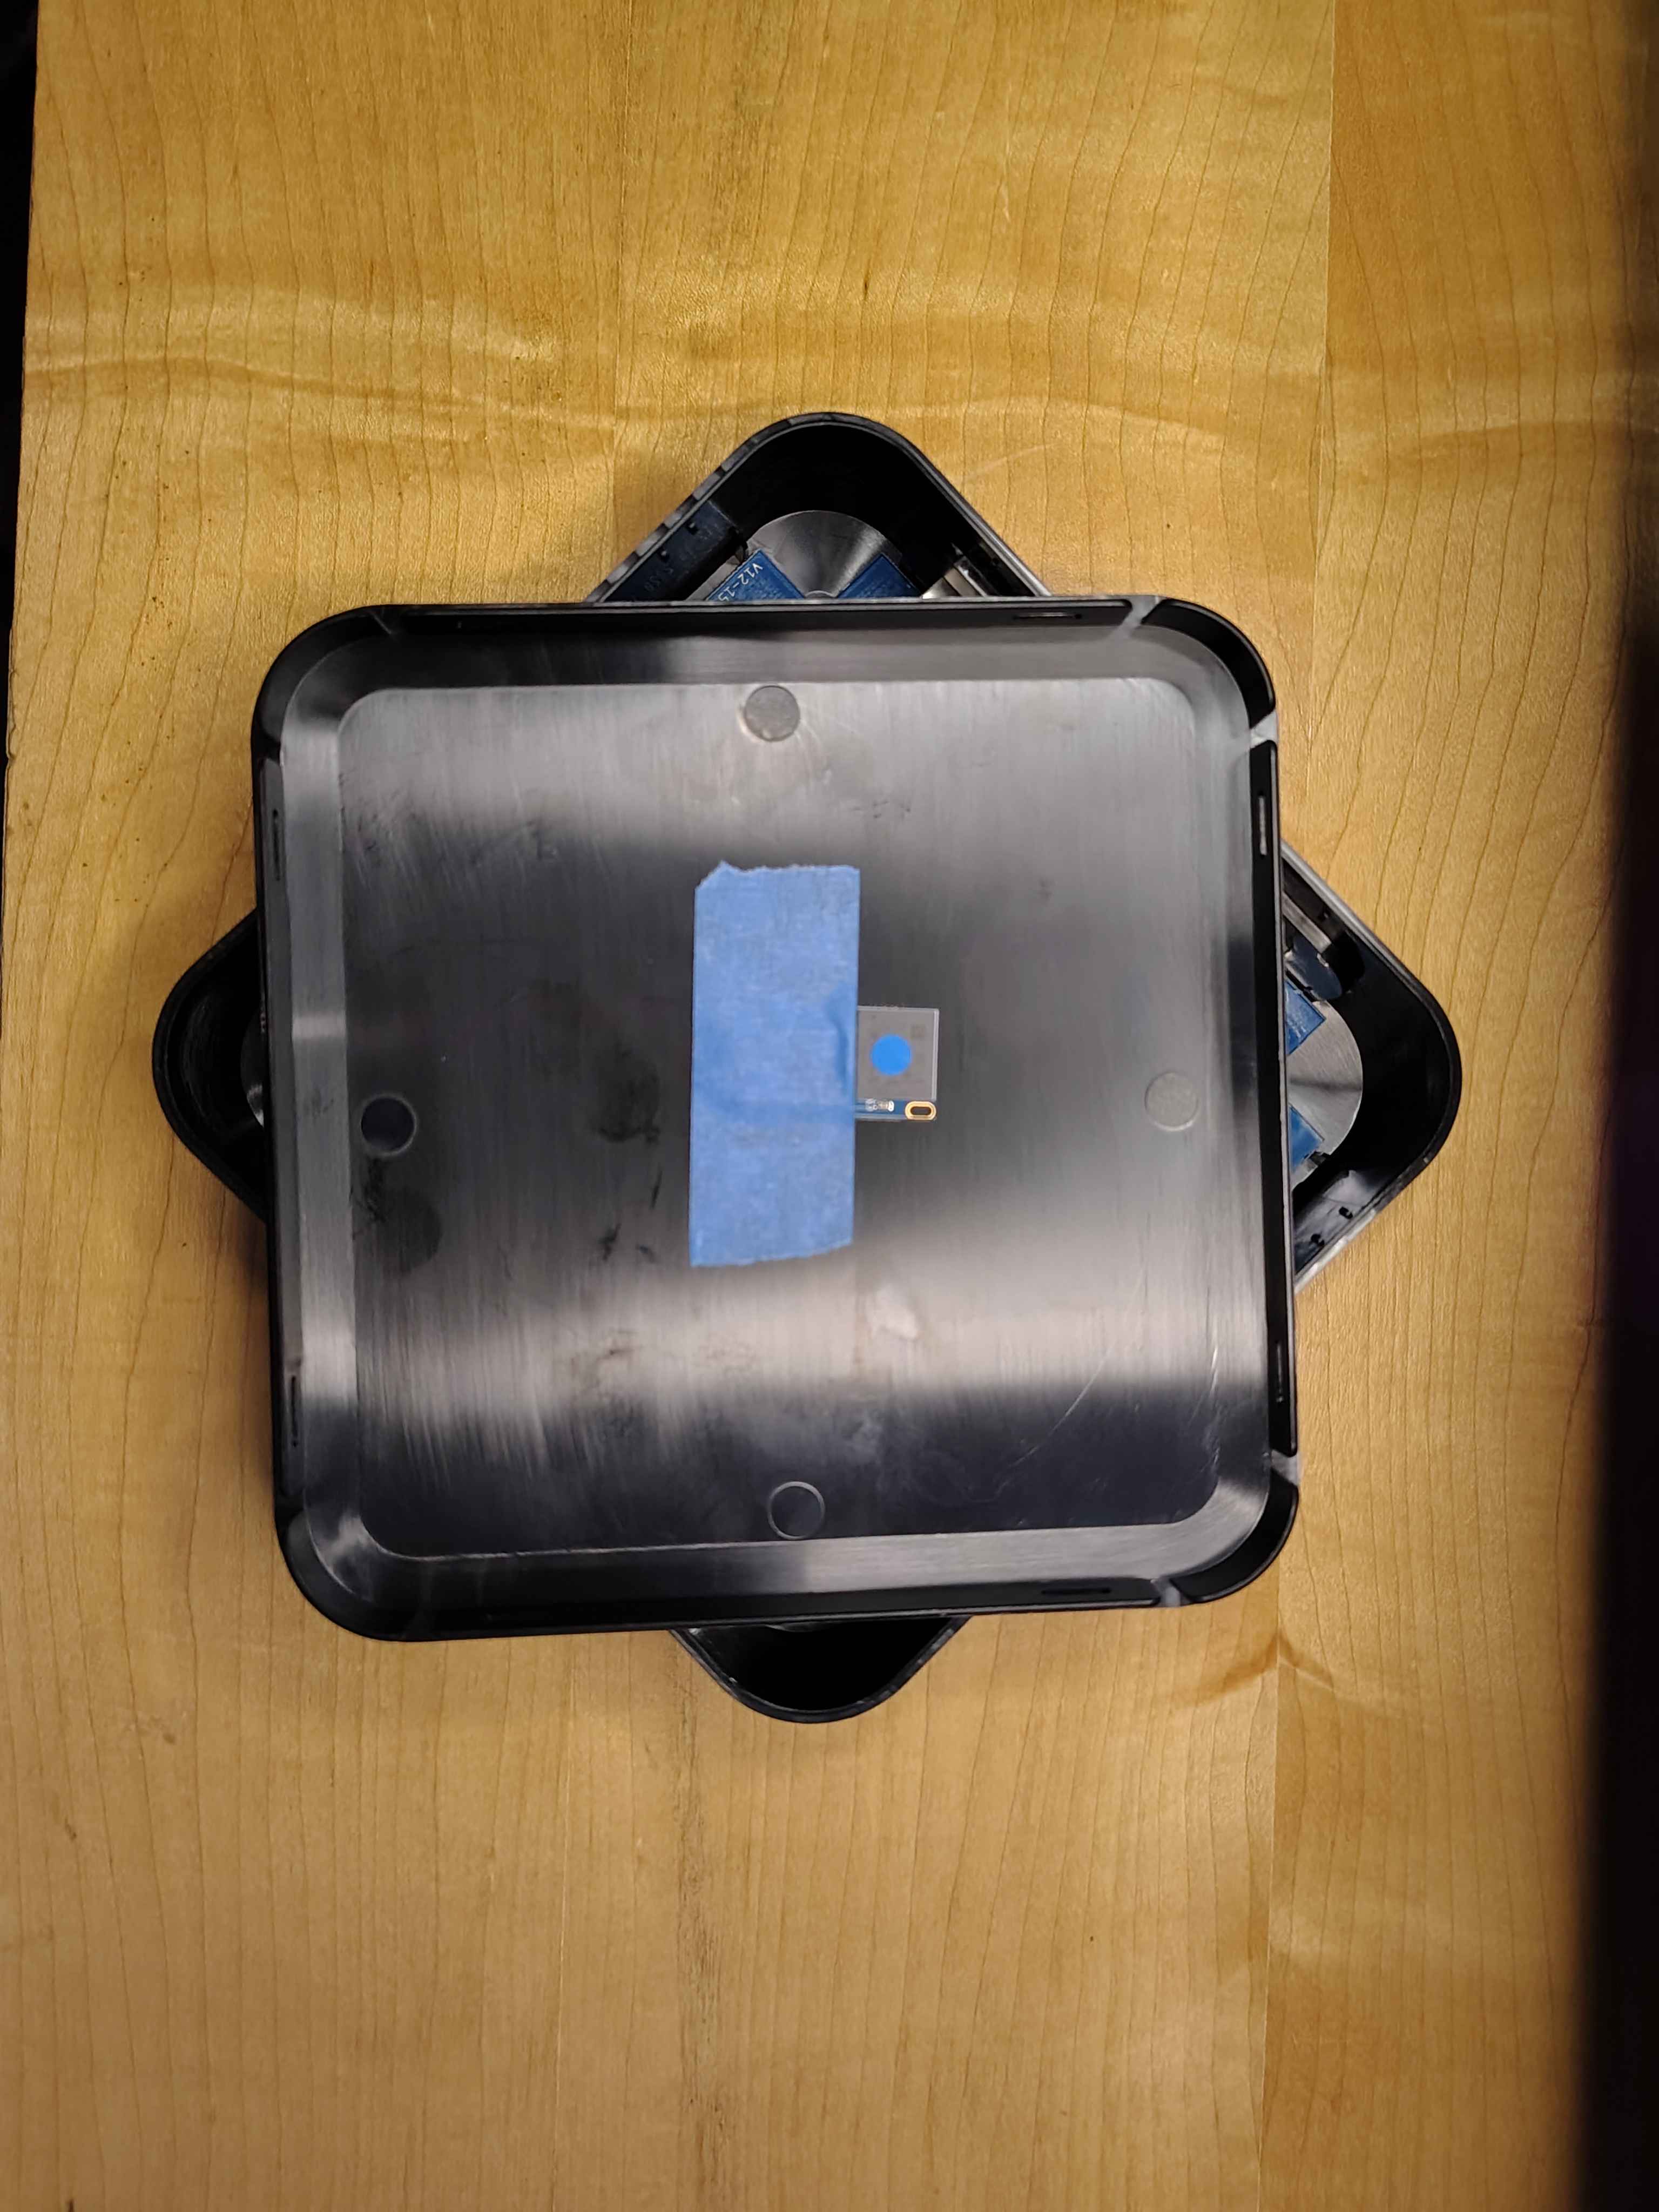
Slide the original Nebra eMMC Key out of its slot and tape it inside the top cover of your miner for safekeeping — it holds your stock Nebra software, so keeping it with the device means you can always swap back to the original setup later.
Your Helium identity is not on this card — it lives on a separate chip soldered to the board (the ECC), which is never touched. Removing the Key does not affect your hotspot name.
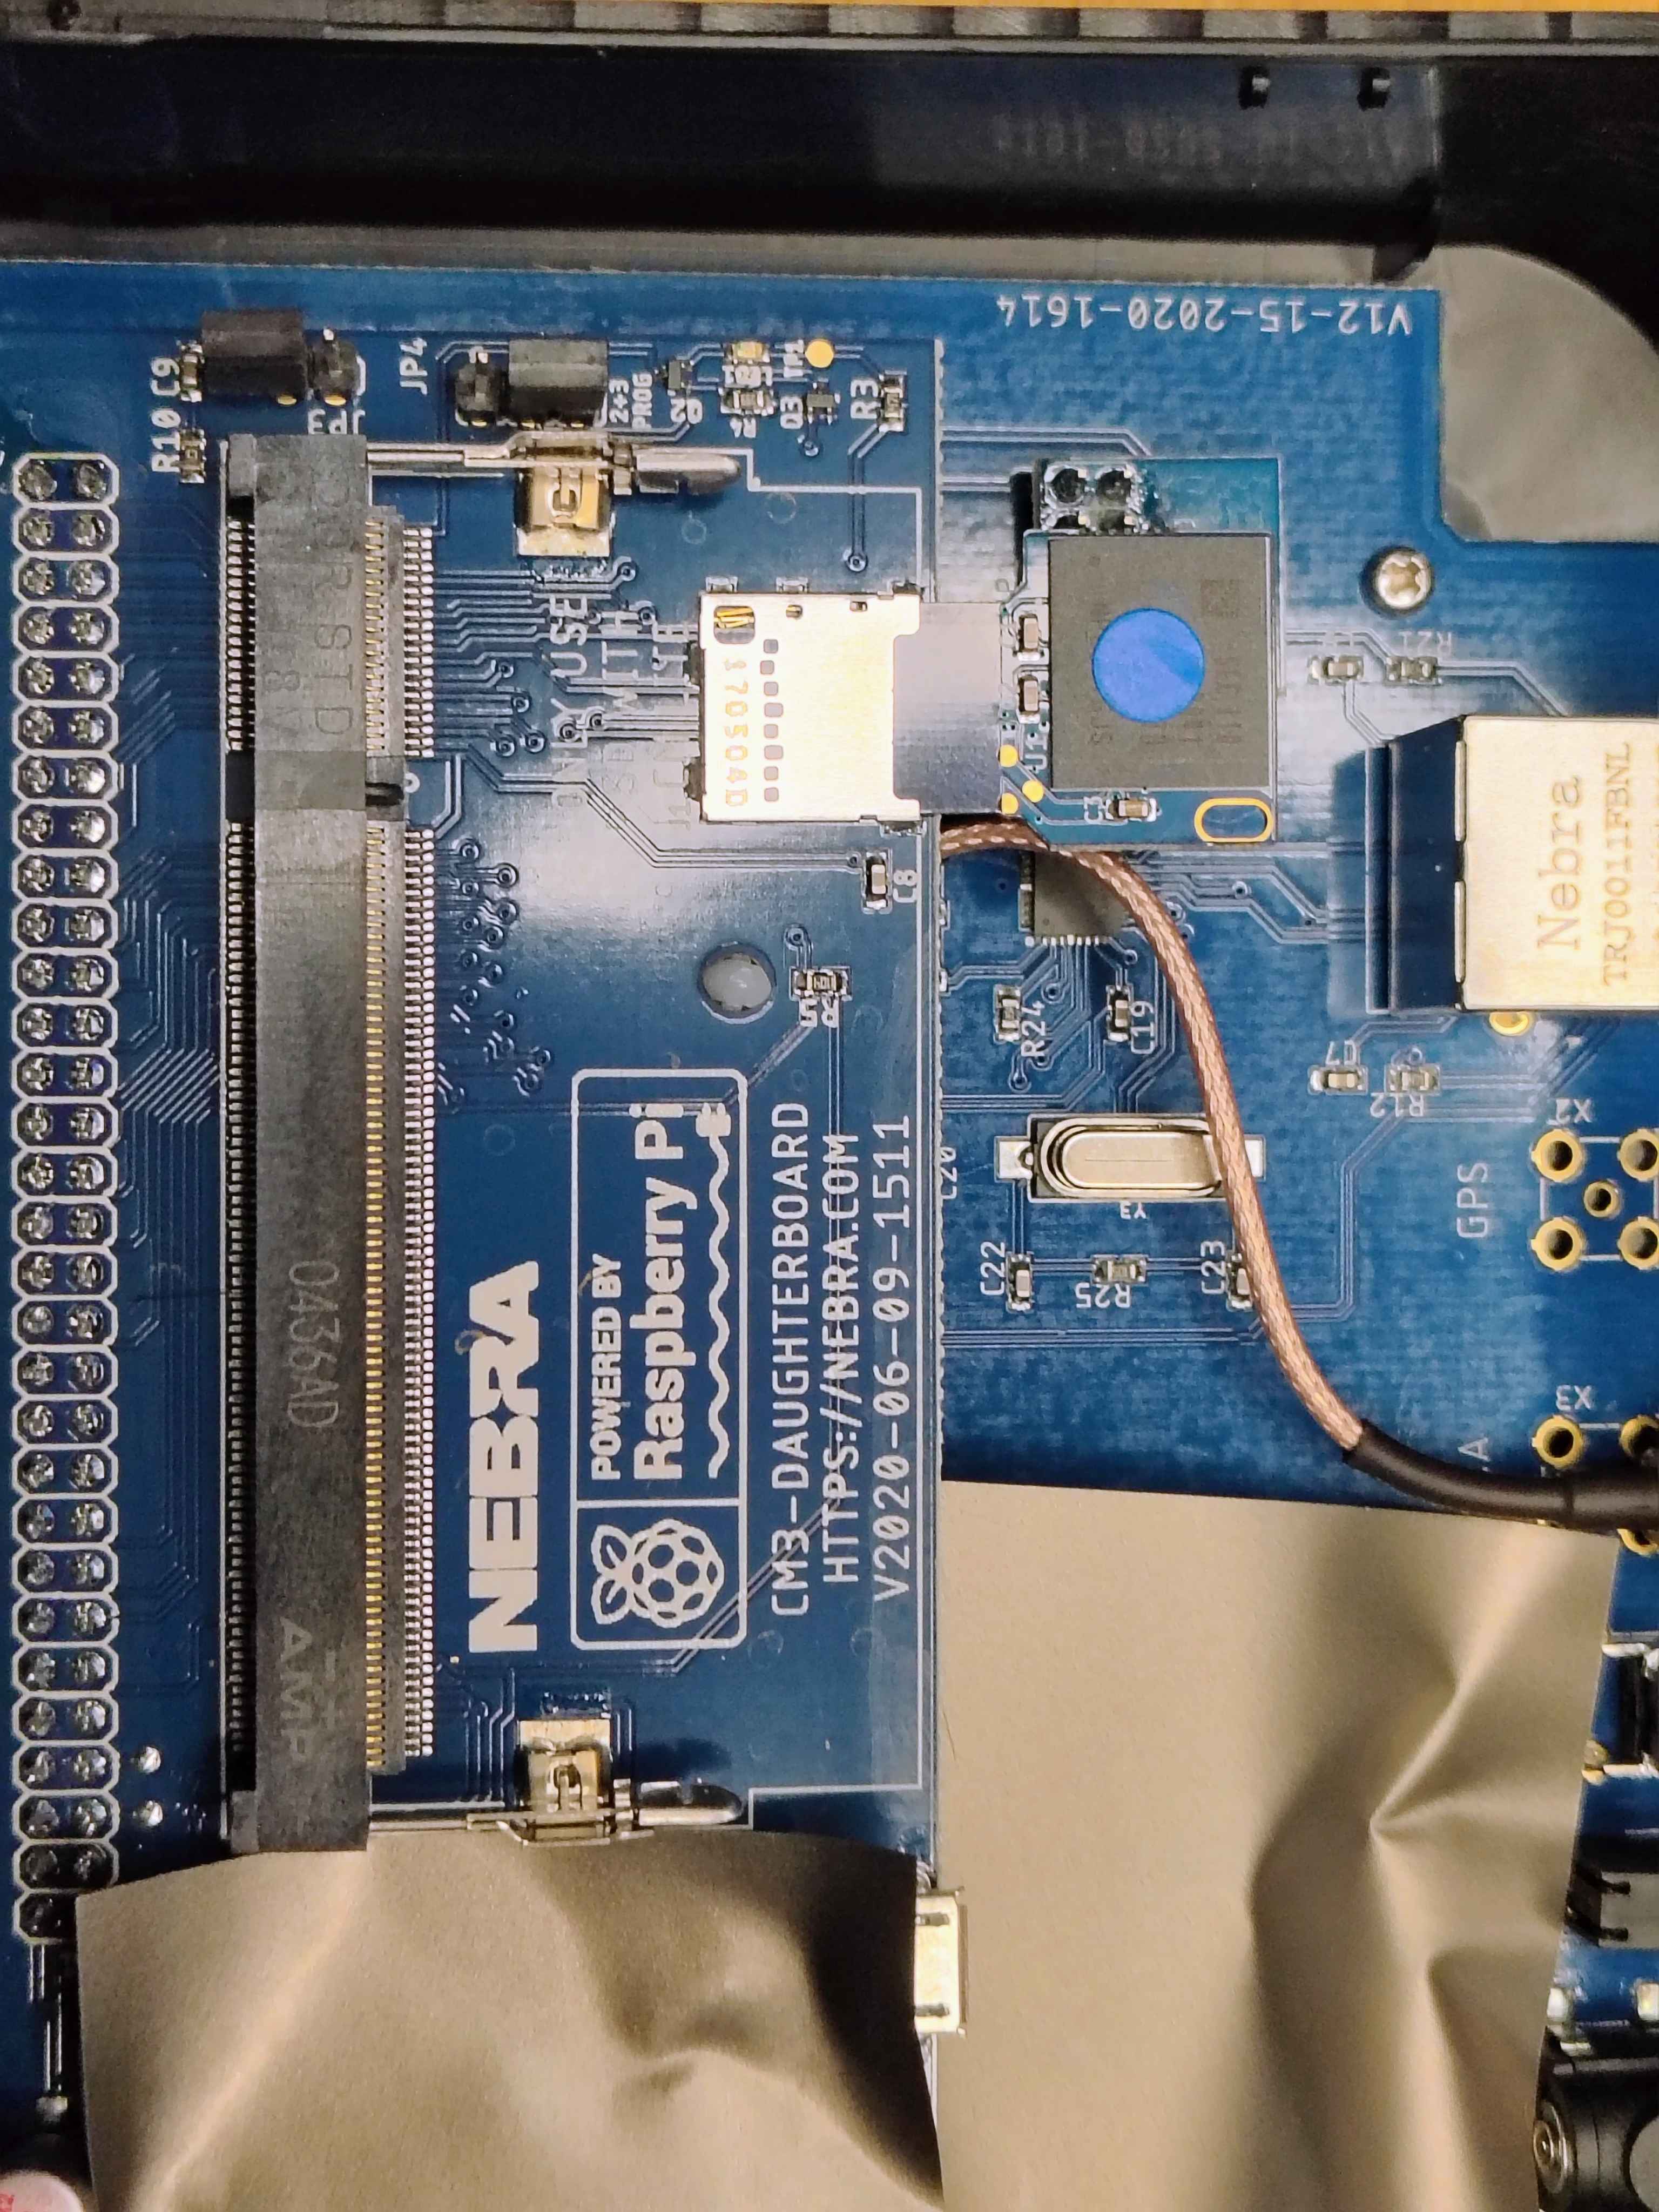
Slide the MicroSD card you just flashed into the same slot, with the card's metal terminals facing toward the board. Seat it fully so it's held in place. This card is now your miner's boot drive.
If you chose to re-flash the original Key instead of using a new card, just slide the flashed Key back into the slot here.
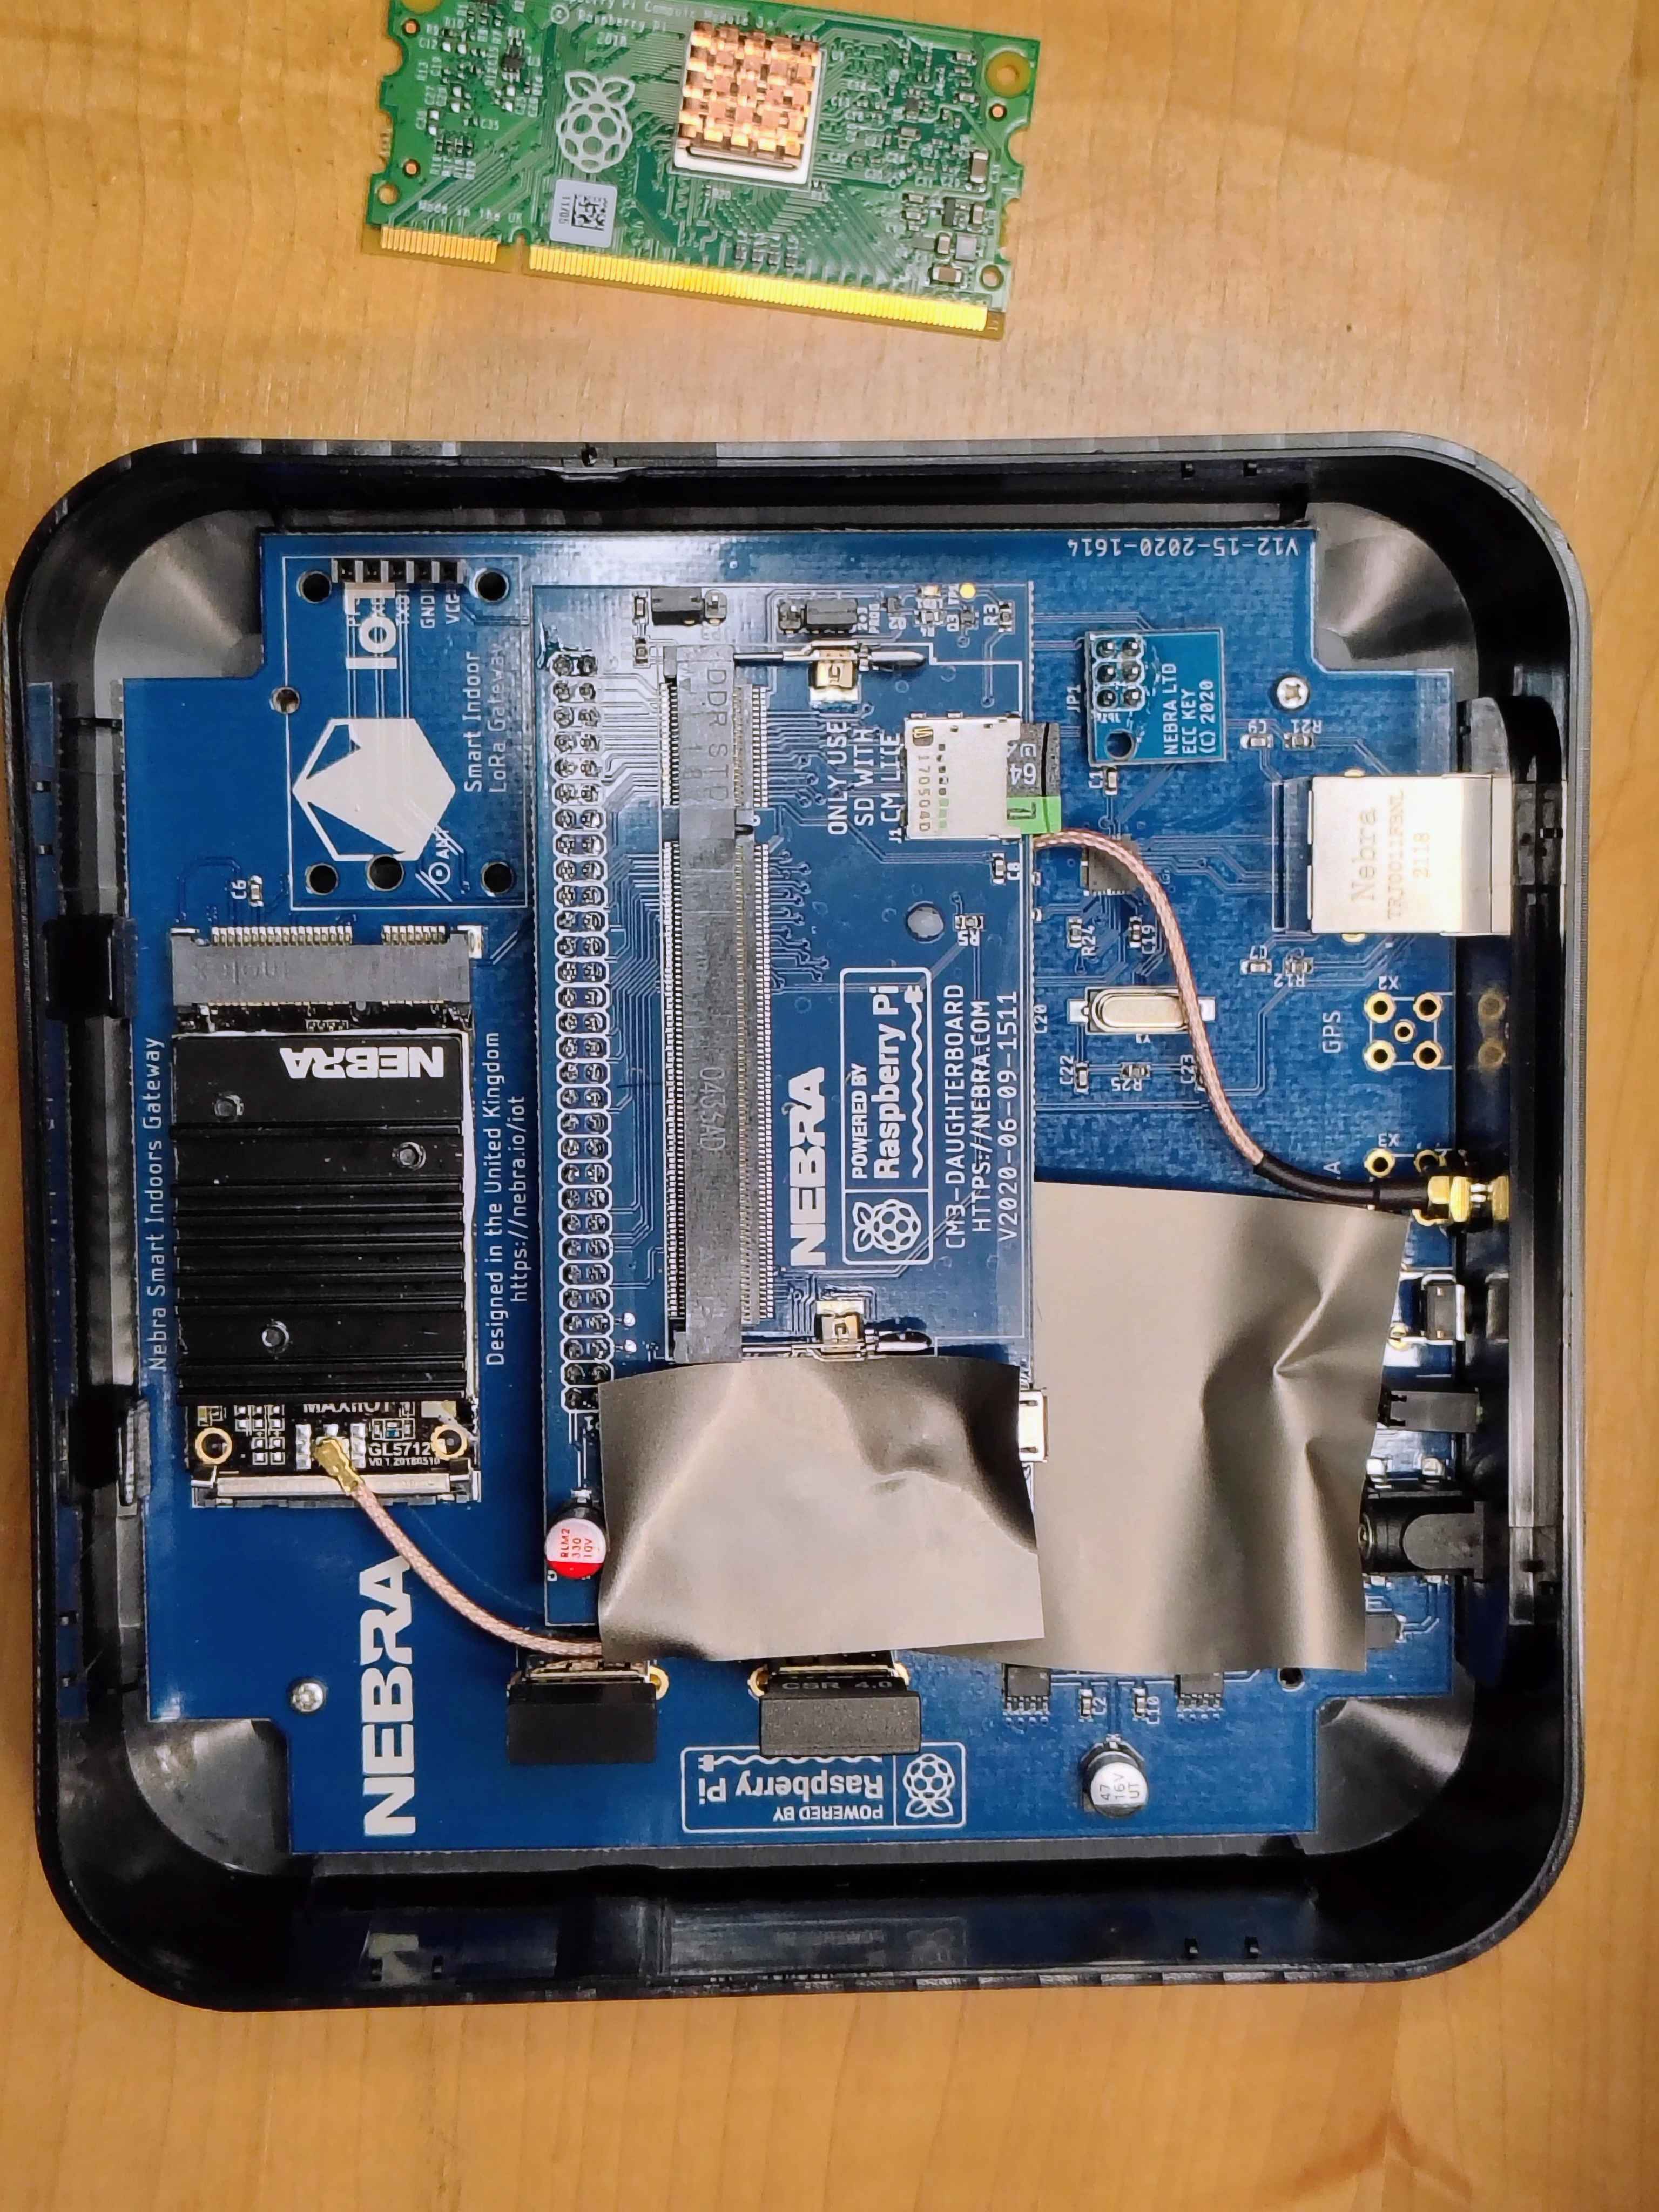
If you lifted the CM3+ compute module out earlier, reinstall it now: slide it back into its socket, then gently press down on it until it snaps into place and is held secure by both metal locking tabs. If you never removed the module, you can skip straight to closing the case.
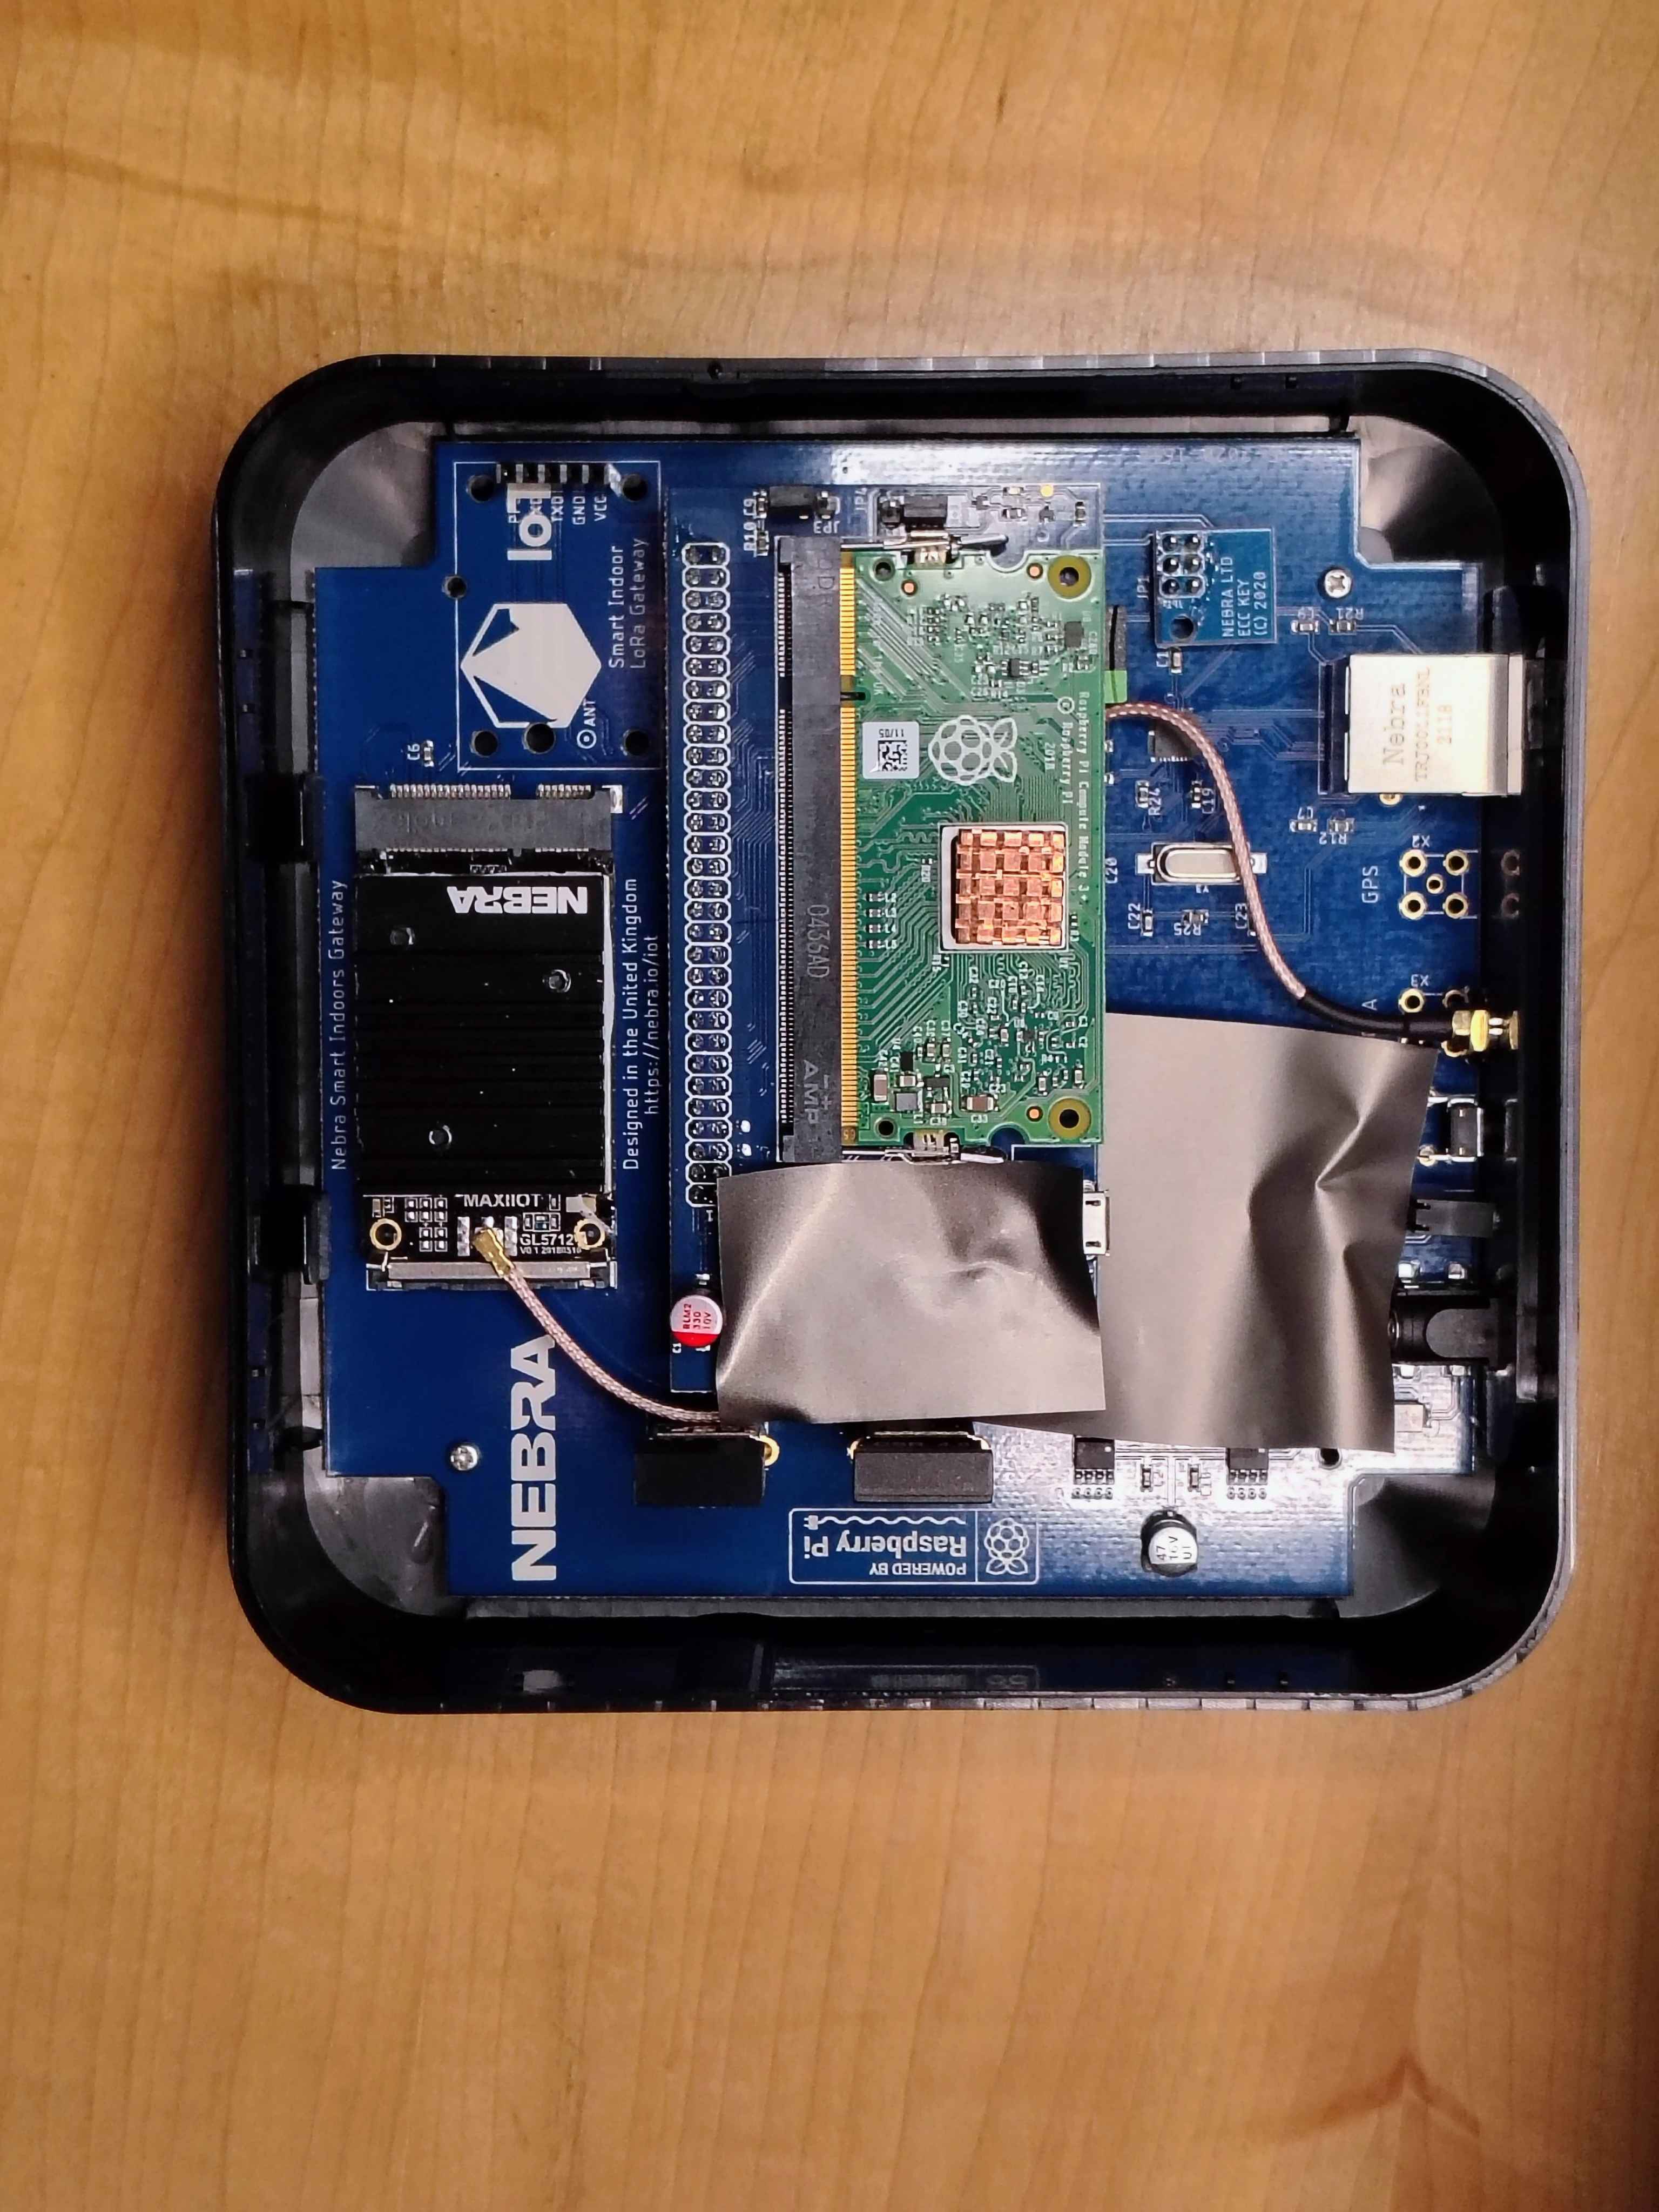
With the original eMMC Key securely taped inside the top cover, orient the cover so the Nebra logo is right-side up and the connector openings line up at the top. Then press down firmly along all four edges until it snaps into place.
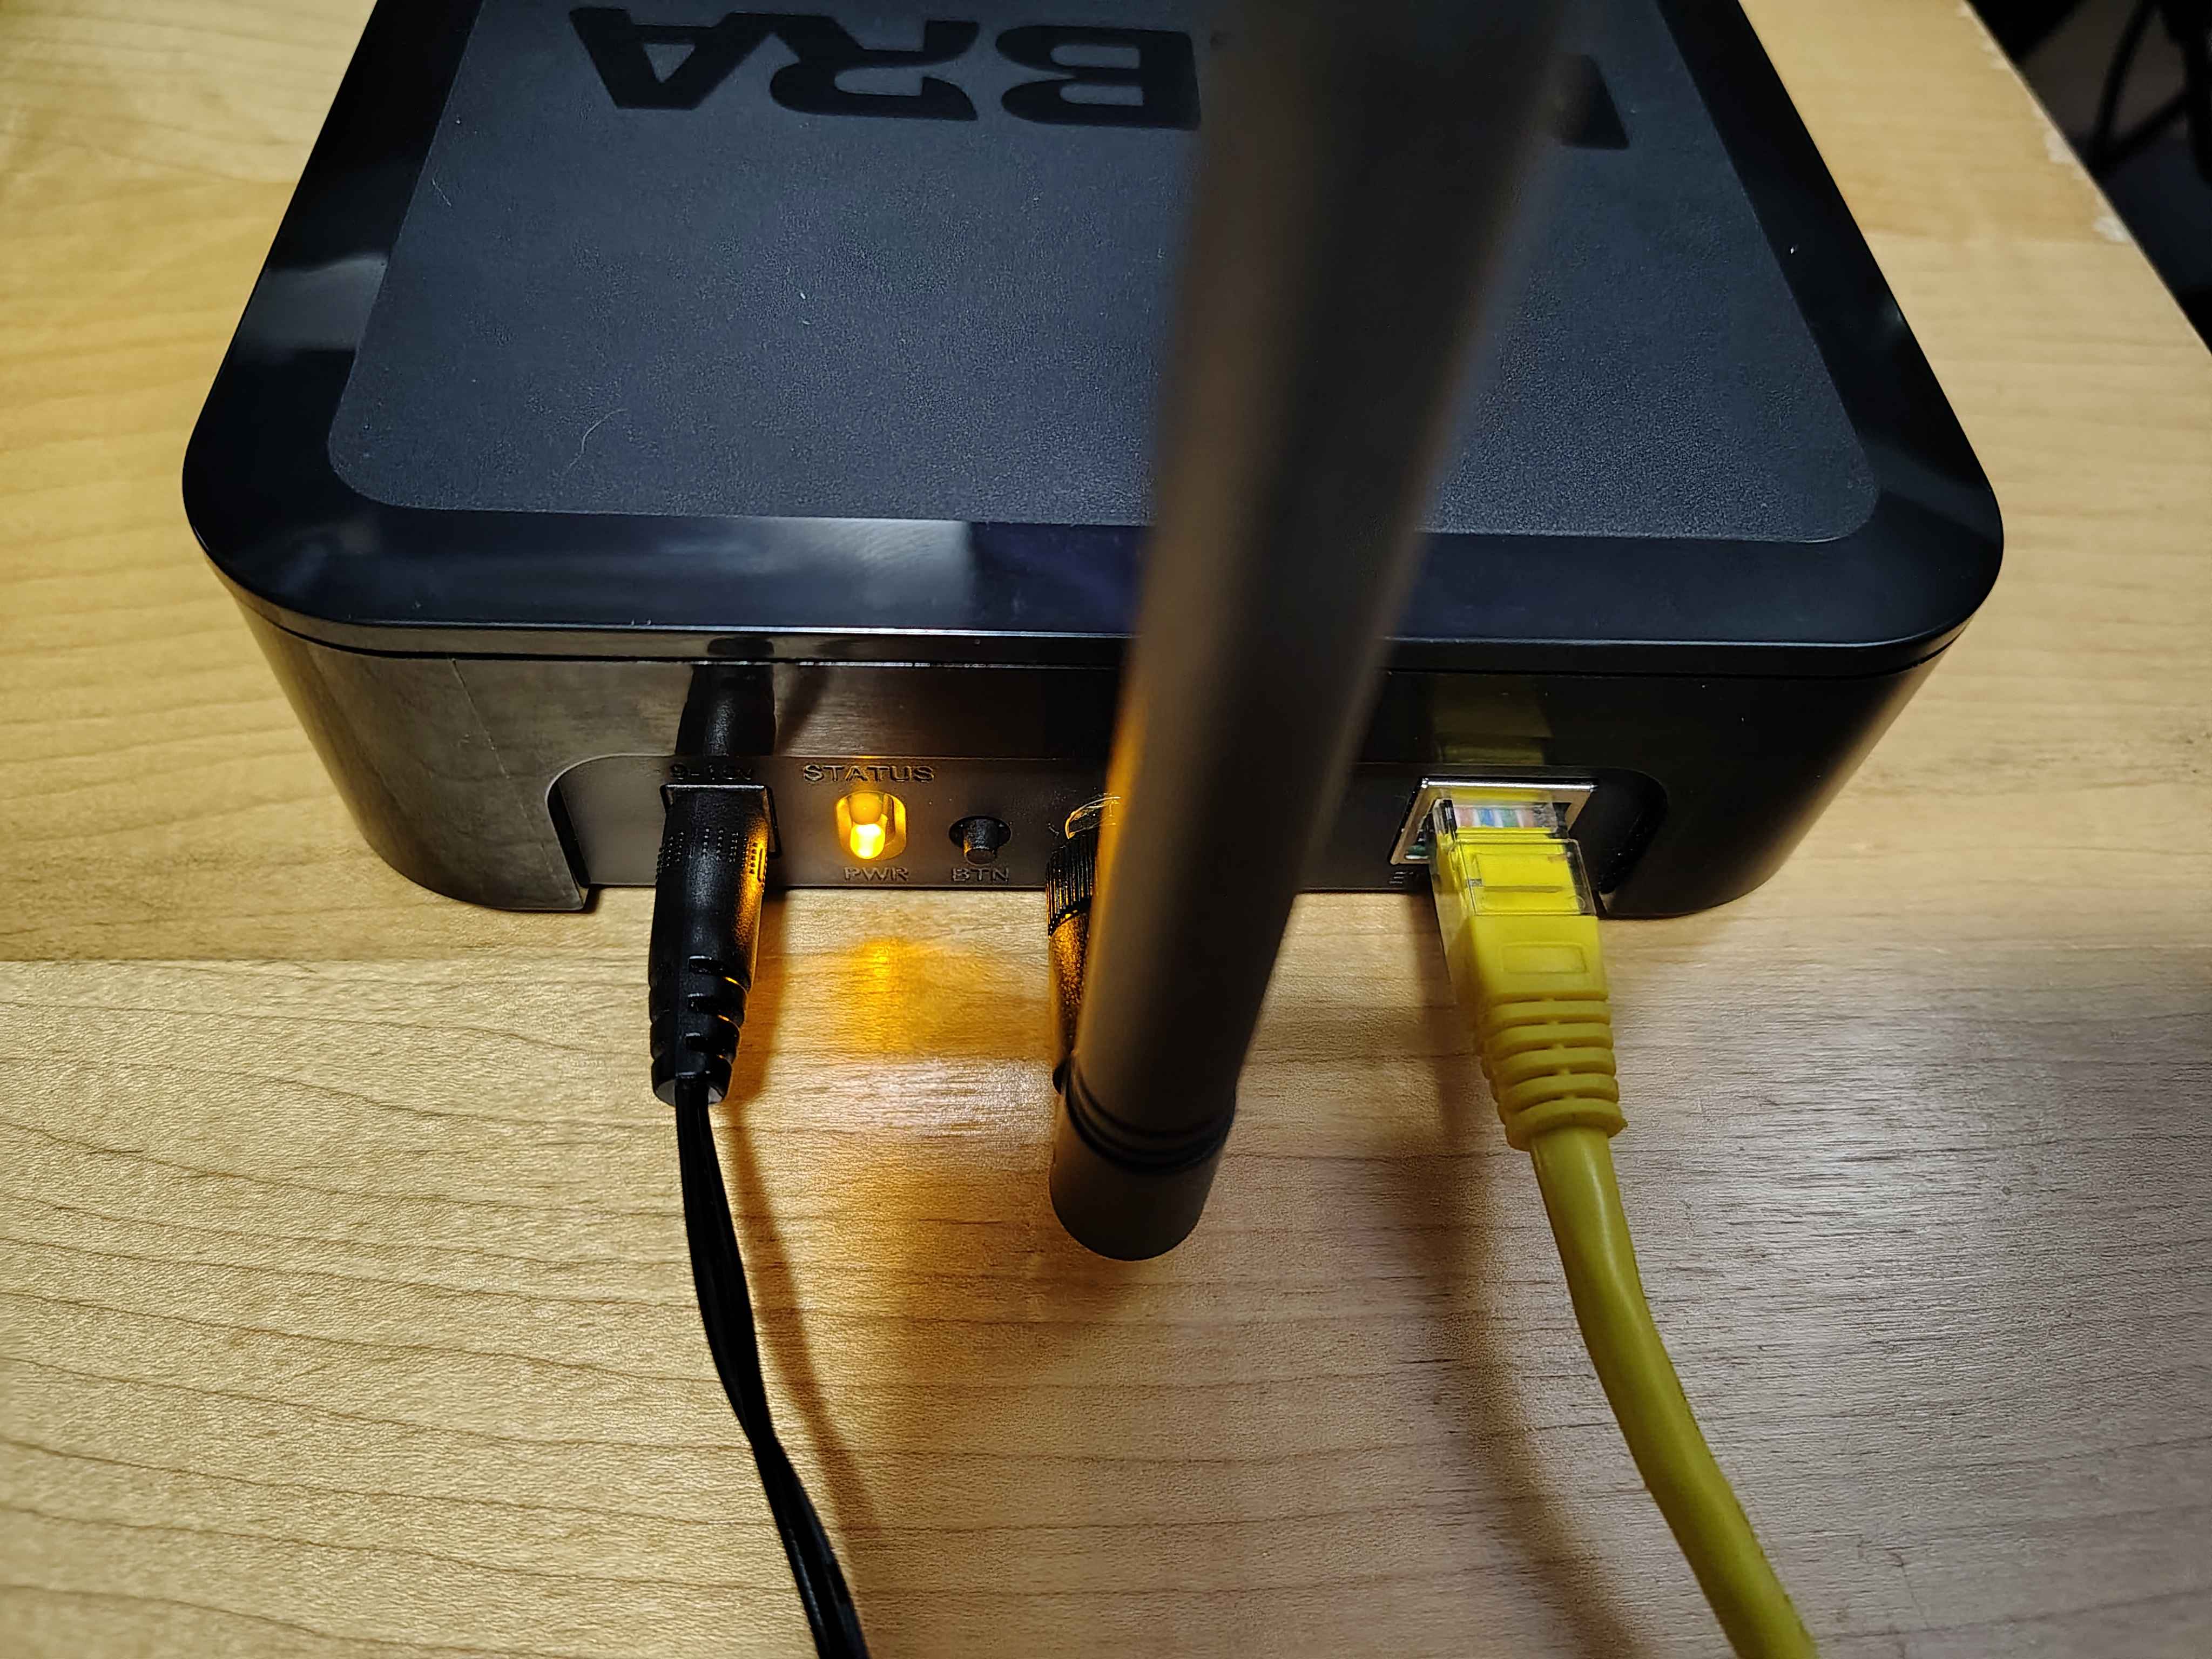
Reconnect the antennas and your network cable, then plug the Nebra in (on the Outdoor, that's the PoE cable or the 12V DC adapter) — it now boots straight from your new card into PiLoader OS. First boot takes a couple of minutes while it sets itself up — give it about 2–3 minutes before moving on.
Outdoor owners: a wired Ethernet / PoE connection is recommended. If you plan to use WiFi, make sure the WiFi antenna is screwed onto the outside of the enclosure and that the thin cable inside is firmly attached to the WiFi dongle. The metal enclosure blocks WiFi signal, so without the antenna connected the miner will only see very close networks.
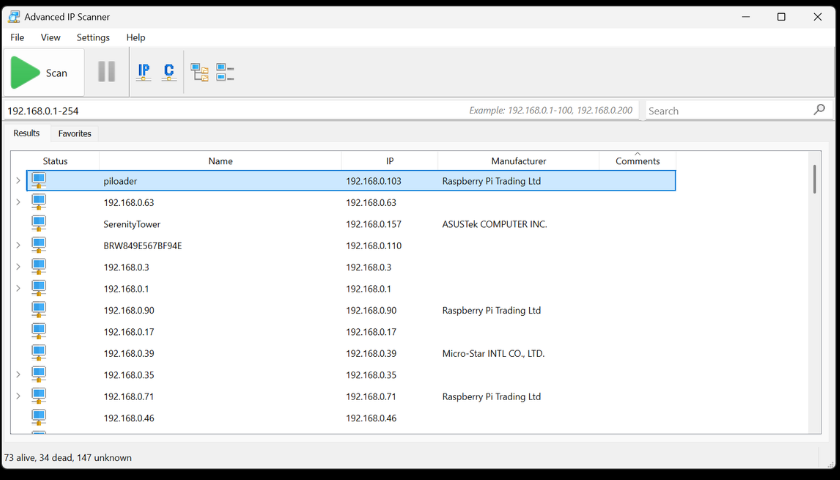
Open Advanced IP Scanner on your PC and click Scan. Look for a device named "piloader" in the results — the IP address next to it is what you need. Alternatively, log into your home router (usually at 192.168.0.1 or 192.168.1.1) and check the connected-devices list.
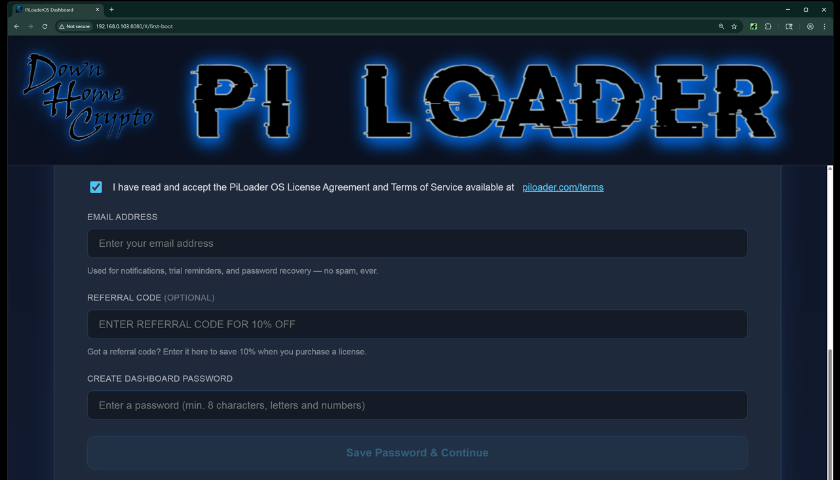
On any device on your home network, open a browser and go to your Nebra's IP address followed by :8080 — for example 192.168.0.50:8080. Read and accept the Terms, enter your email address (used for password recovery and license registration — make sure it's accurate), and set a strong password. Click "Save Password & Continue".
Shortcut: with only one PiLoader device you can use piloader.local:8080 instead of the IP address.
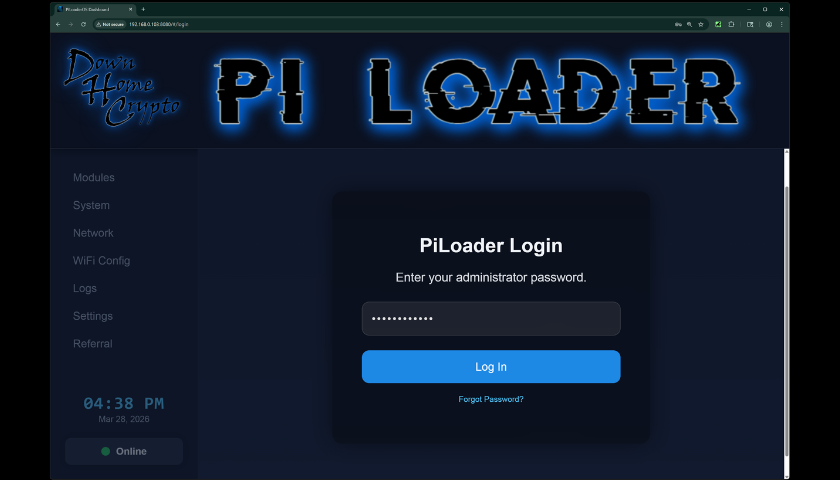
Log in with your new password to reach your dashboard — your command center for installing earning modules, monitoring hardware, and managing your network. Open the Helium module: PiLoader automatically detects your hotspot's identity chip, so it keeps your existing hotspot name. Confirm your region is correct, and your LoRa concentrator will be online.
You're Live!
Your Nebra is now running PiLoader OS, and your Helium hotspot name has recovered automatically. Head to the Modules section and start enabling your earning apps. Good luck out there — and Happy Mining! 🎉
Join the PiLoader Discord community for the latest news, help from fellow PiLoader miners, and to share your mining adventure with people who get it.