
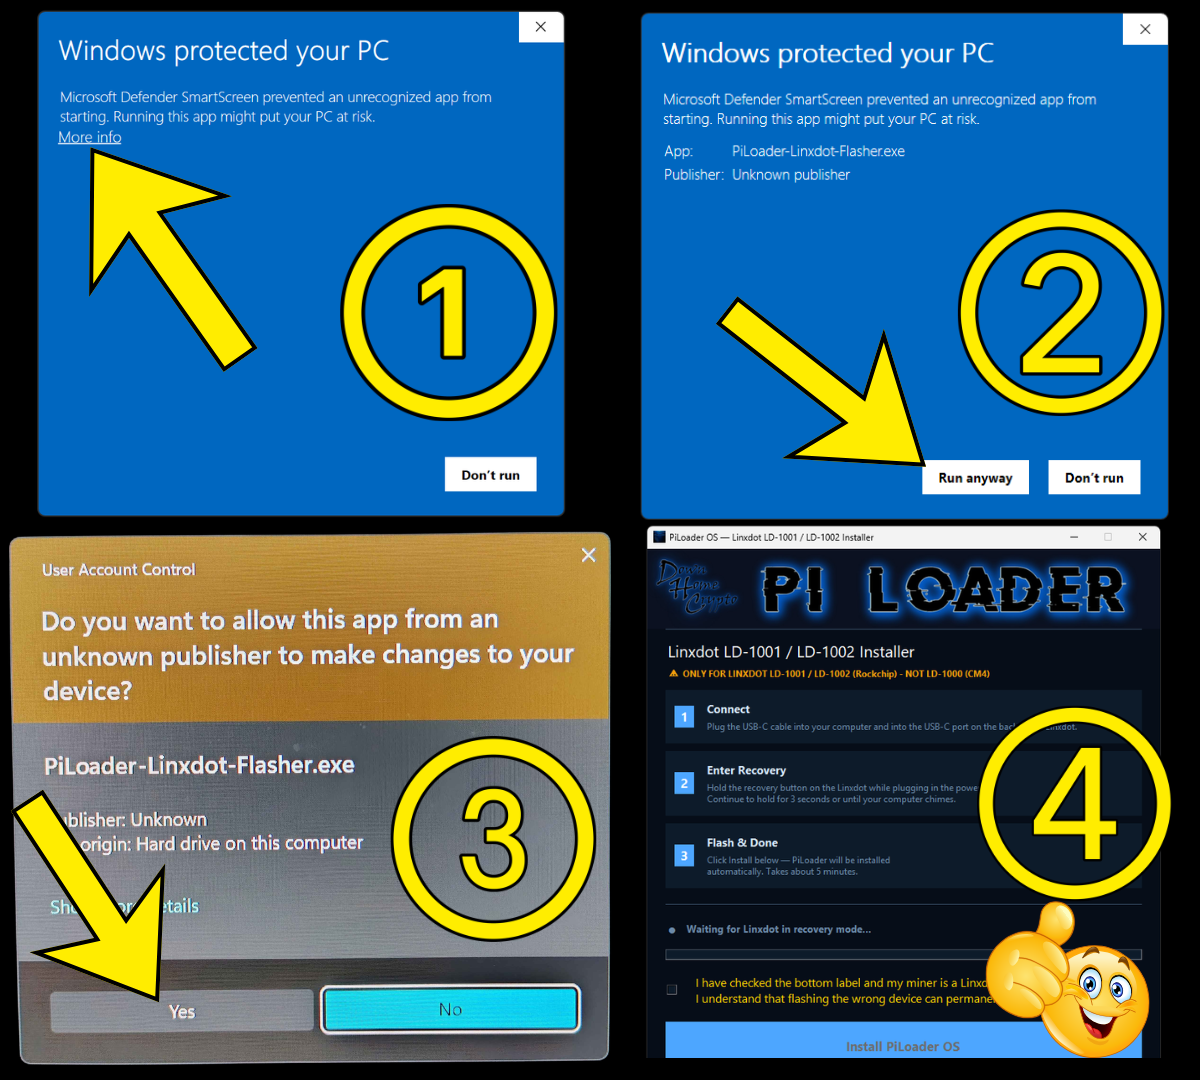
Download the installer using the button below, then double-click the file to run it. Windows will show a series of warning screens before it opens — this is normal for a new app. Work through them in order:
② Same screen expands — click Run anyway
③ User Account Control — click Yes
With the installer open on your PC and the Linxdot unplugged from power:
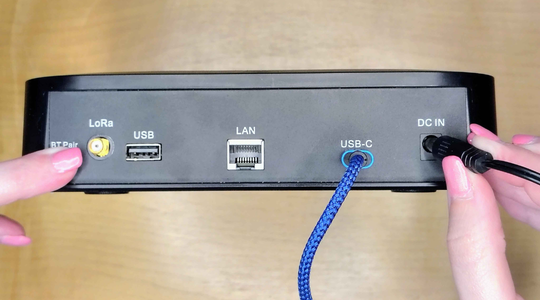
② Press and hold the BT Pair button, then plug the power cable into the DC IN jack.
③ Keep holding for about 5–8 seconds — until Windows makes a connect chime and the installer shows your Linxdot has been detected. Then release the button.
If the Linxdot isn't detected within about 10 seconds, unplug power, try a different USB port on your PC, and repeat the hold-BT-Pair-then-power cycle.
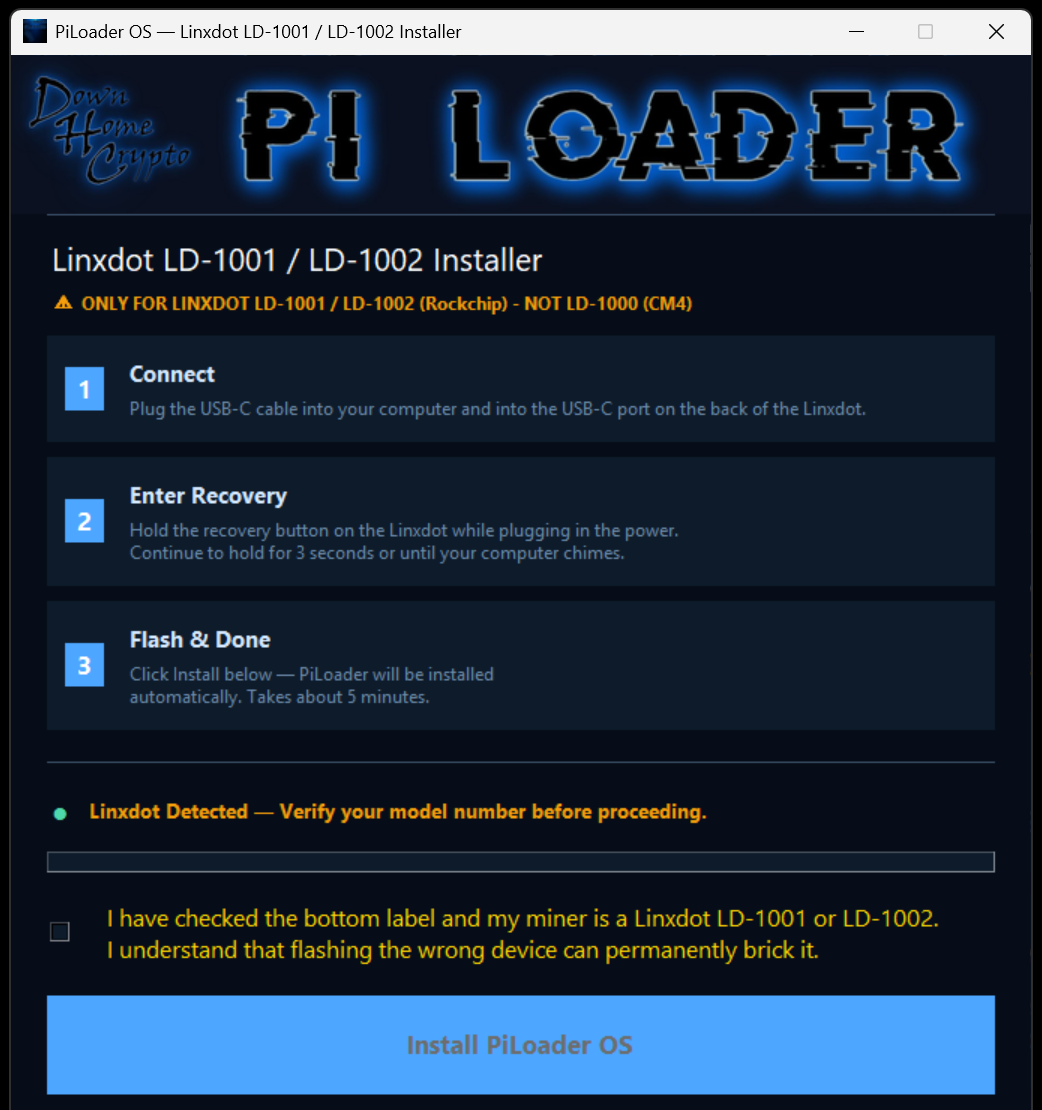
The Linxdot flasher should show "Linxdot Detected." Verify that the label on the bottom of your miner reads model LD-1001 or LD-1002 — this flasher is not compatible with the LD-1000. Once you've confirmed the model is correct, tick the warning box to acknowledge that you've verified the label and understand that flashing the wrong image can brick your miner. Then click Install PiLoader OS to start.
Do not unplug the USB-C cable, the power cable, or close the installer during this process. Interrupting the flash can leave the miner without a working operating system.
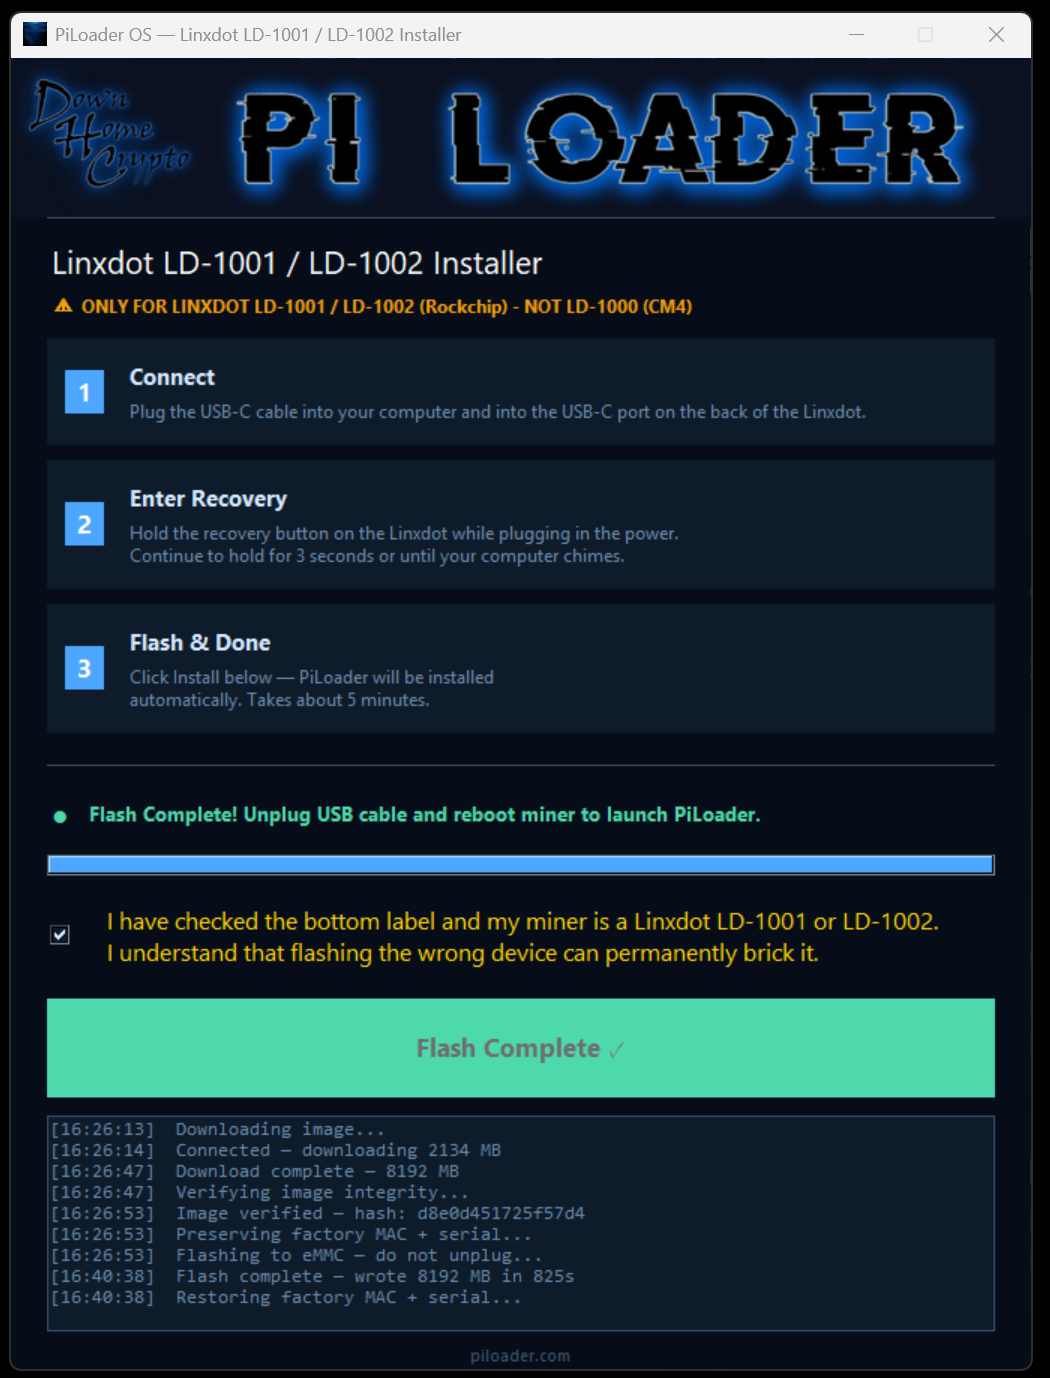
When the installer shows "Flash Complete ✓", it's safe to unplug the power cable and the USB-C cable. Your Linxdot now has the current version of PiLoader OS and is ready for First-Time Setup.
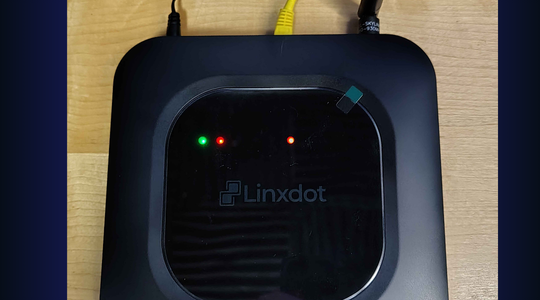
Connect the ethernet cable and plug in the power cable to boot your Linxdot. Give it 60–90 seconds for the first boot to finish setting up.
If it doesn't appear on your network after a couple of minutes, power-cycle the miner (unplug and replug power) and give it another minute.
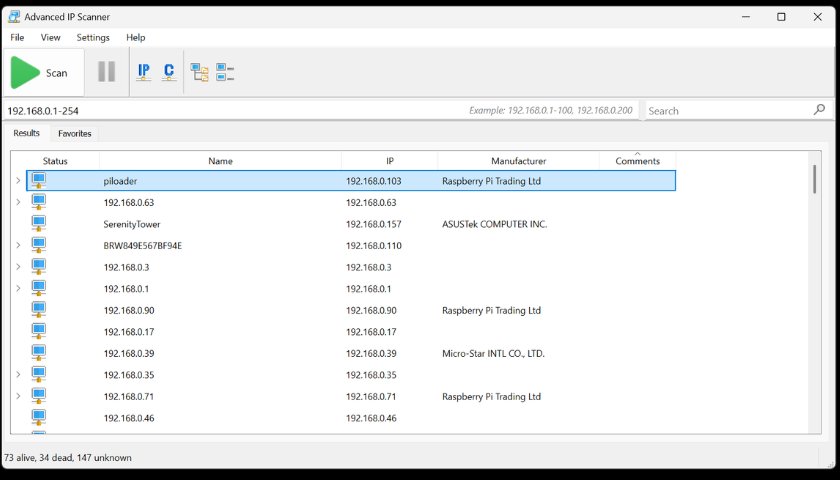
Open Advanced IP Scanner on your PC and click Scan. Look for a device named "piloader" in the results list — make a note of the IP address next to it. You'll need it in the next step.
Alternatively, log into your home router (usually at 192.168.0.1 or 192.168.1.1) and check the connected-devices list to find the piloader IP address.
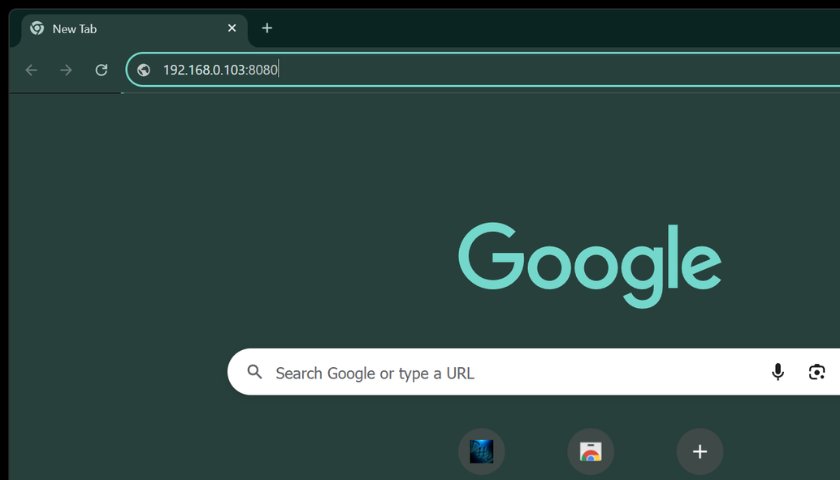
On any device connected to your home network, open a browser and type your device's IP address followed by :8080. For example: 192.168.0.103:8080
You should see the PiLoader OS setup screen. Bookmark this address for easy access going forward.
Shortcut — only one PiLoader miner? Use piloader.local:8080 instead of the IP. With a license you can also set a custom name (e.g. hotspot1.local) — handy for multi-miner setups.
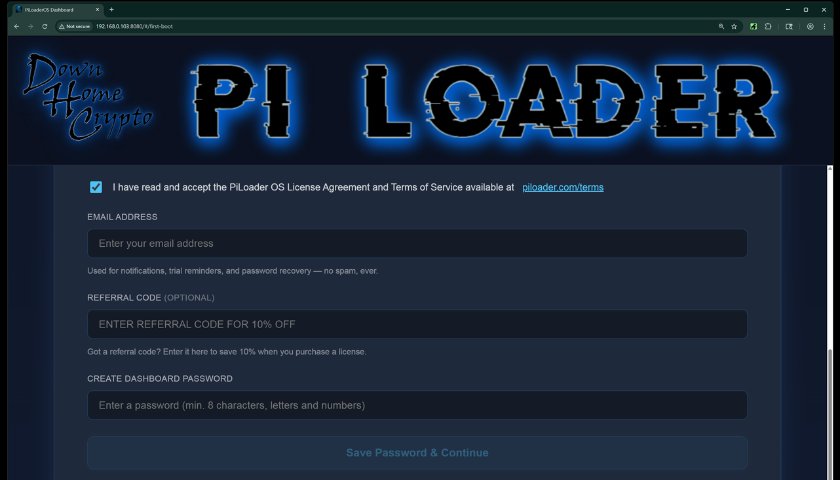
Read through the Terms and Conditions and accept them. Enter your email address — this is required for password recovery and license registration, so make sure it's accurate. Choose a strong, unique password for your dashboard. Click "Save Password & Continue" to proceed.
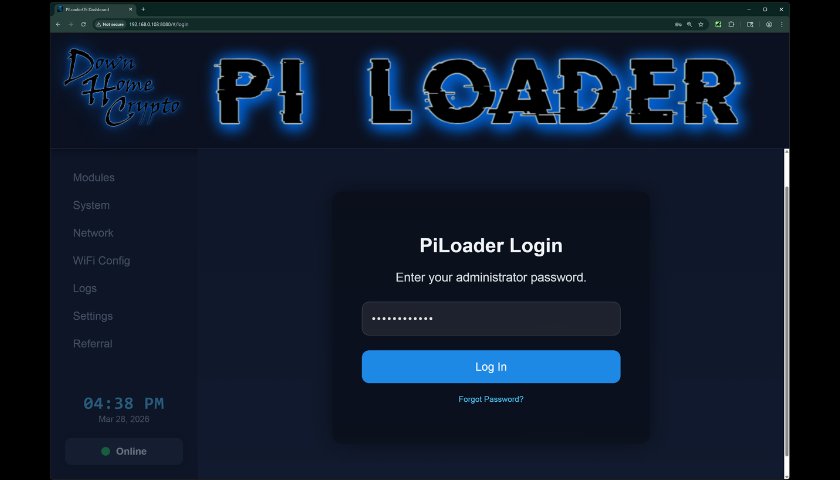
Enter the password you just set and click "Log In". Welcome to your PiLoader OS dashboard — this is your command center. From here you can install and manage your earning modules, monitor your hardware health, configure your network and WiFi settings, set your local time zone, and access everything PiLoader has to offer. You did the hard work — now let your Linxdot start earning for you.
You're Live!
Head to the Modules section in your dashboard and start enabling your earning apps. Enter your credentials, hit install, and PiLoader OS takes care of the rest. Good luck out there — and Happy Mining! 🎉
Join the PiLoader Discord community to stay up to date with the latest news, get help from fellow PiLoader miners, and share your mining adventure with people who get it.
Join the PiLoader Discord Community →